


Tutorials
Sew a Four-Hole Shirt Button Back On
Use crossing stitches and a short thread shank to reattach a flat four-hole button to sound shirt fabric.
Check the repair first
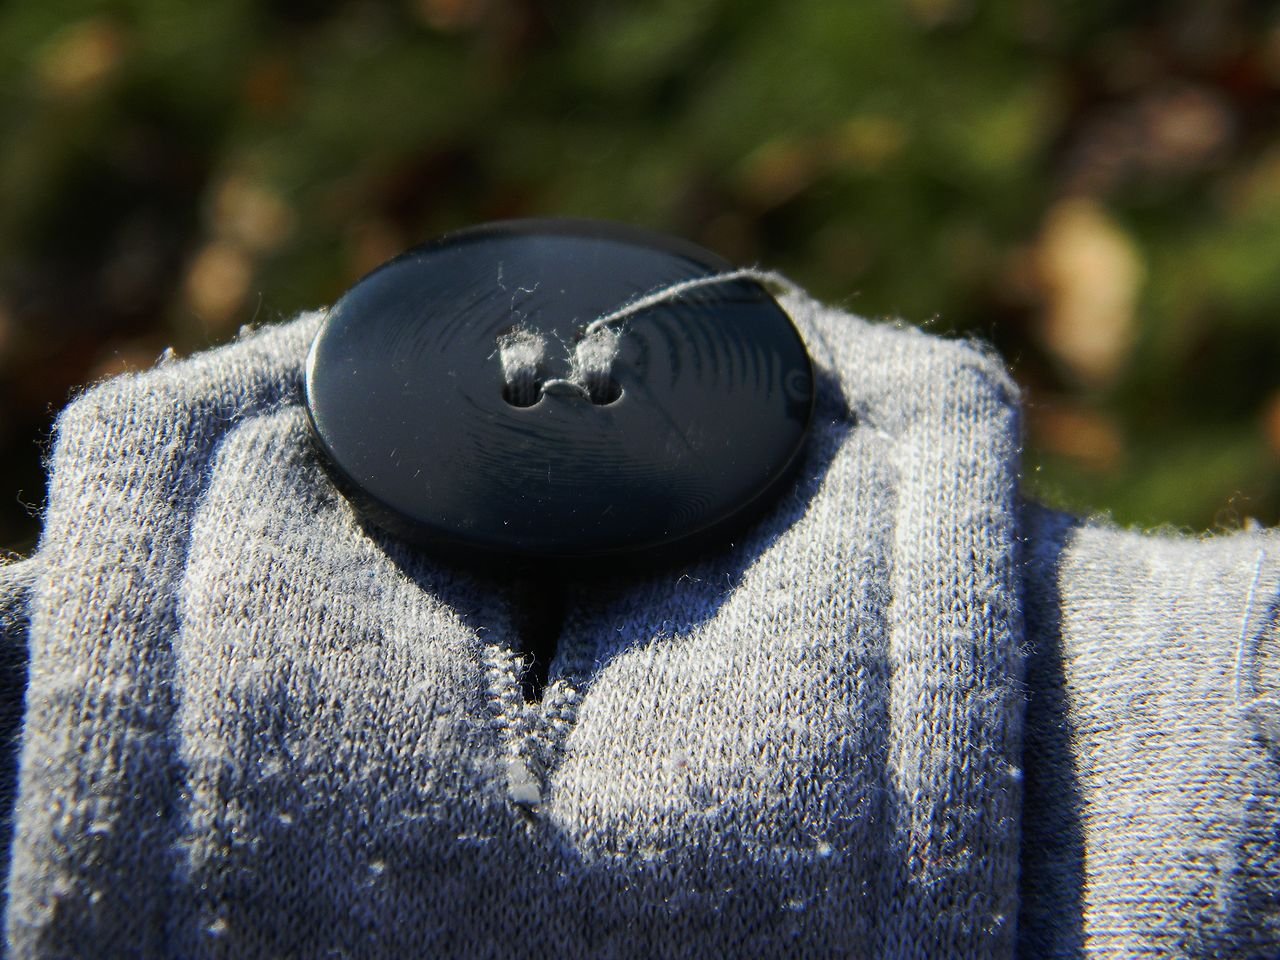
Work at a table with the shirt off. Use this method for a flat four-hole button on sound fabric. Have torn fabric repaired first; a loop-backed button needs another method.
Prepare the needle and placement
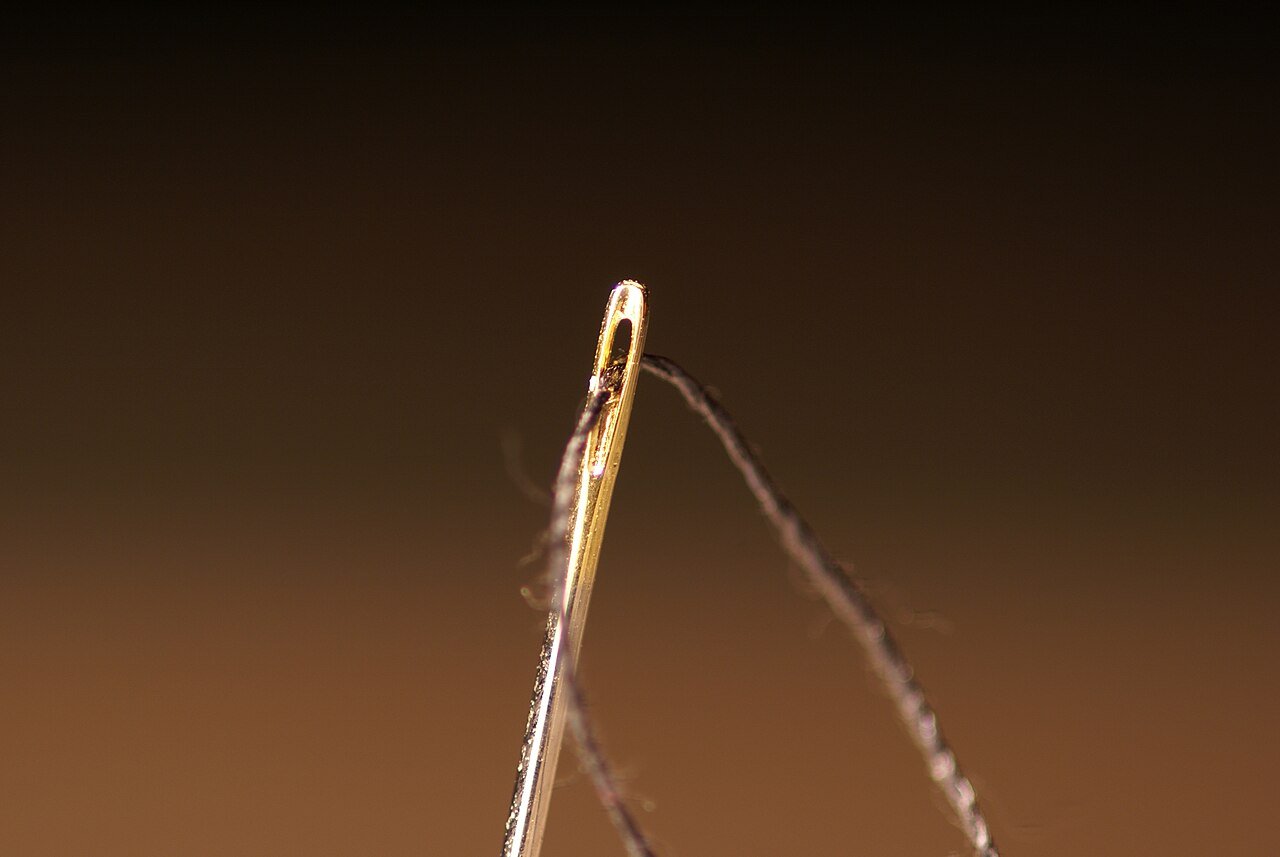
Gather the matching button, a hand needle, thread, scissors and a toothpick. UF/IFAS suggests about 16 inches (40 cm) of thread. Thread the needle, bring both ends together and knot them.
Center the button on its original attachment point. Check alignment with the corresponding buttonhole. Keep sharp tools clear of the shirt’s folds.
Sew both diagonal pairs
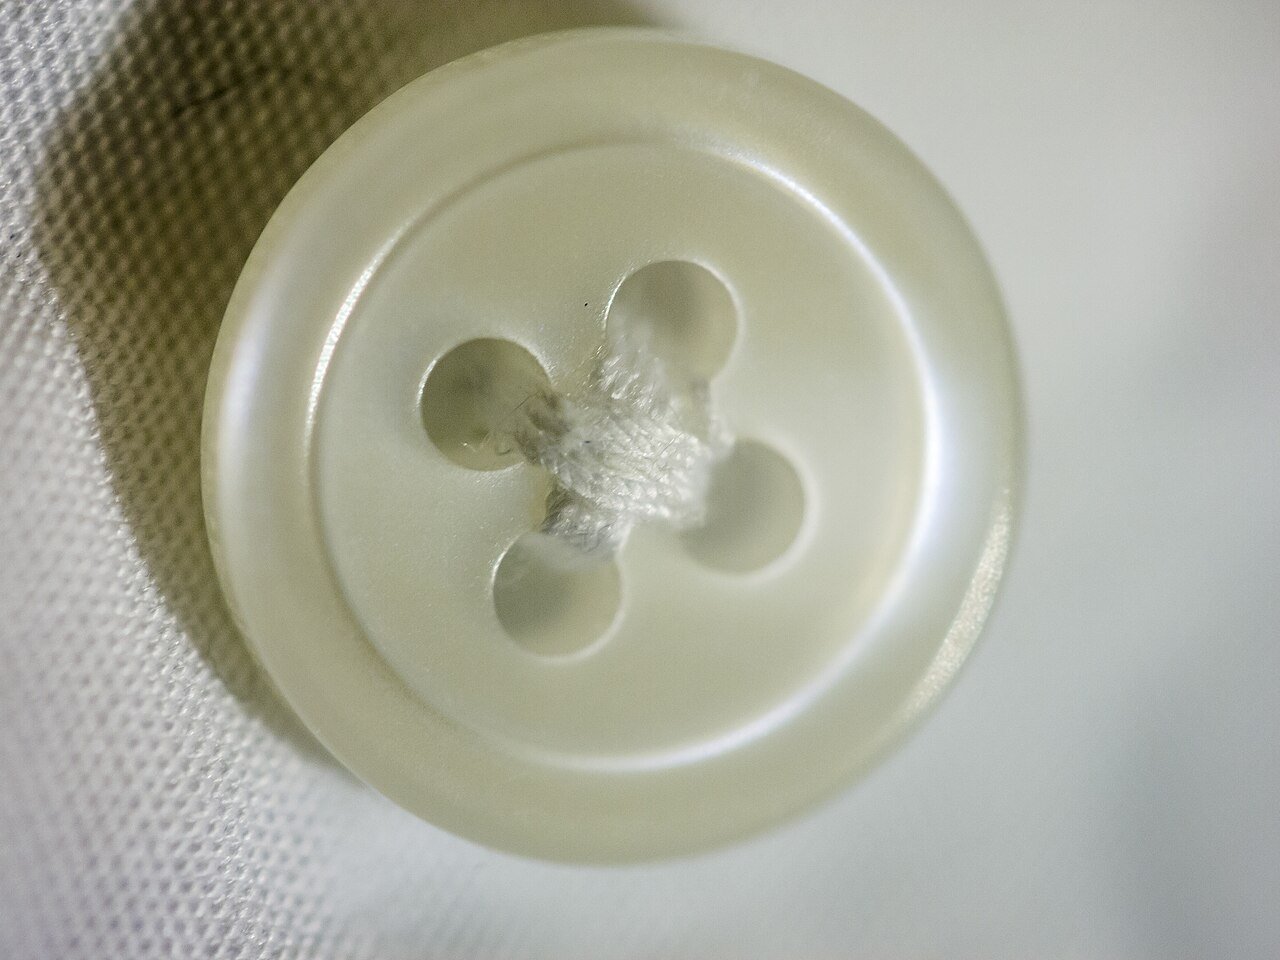
From inside the shirt, come up through the fabric and one button hole. Lay the toothpick across the button’s face. Stitch over it, down through the diagonally opposite hole and fabric. Repeat several times on each diagonal pair, making an X.
Make the thread shank
End the sewing with the needle above the button. Pass it down through one of the button’s holes, stopping before the fabric. Remove the toothpick. Wind the thread several times around the strands between button and cloth, making a short thread stem. Virginia Cooperative Extension emphasizes leaving this space rather than pulling the button tightly against the cloth.
Fasten underneath, then check
Pass the needle through to the inside of the shirt beneath the button. Secure the thread with three small stitches in the same spot, then trim the tail. Put the needle away. Fasten and unfasten the shirt once: the button should pass through its hole without the attachment pulling the fabric into a pucker. If it binds, redo it with more clearance.
Sources
- UF/IFAS: Sewing on a Button (August 2021).
- Virginia Cooperative Extension: button-sewing guide (January 1984 reprint).