

CERAKOTE Headlight Kit: Prep, Apply, and Know Its Limits
Affiliate disclosure: This article contains an Amazon affiliate link. If you buy through it, ONELROR may earn a commission at no extra cost to you.
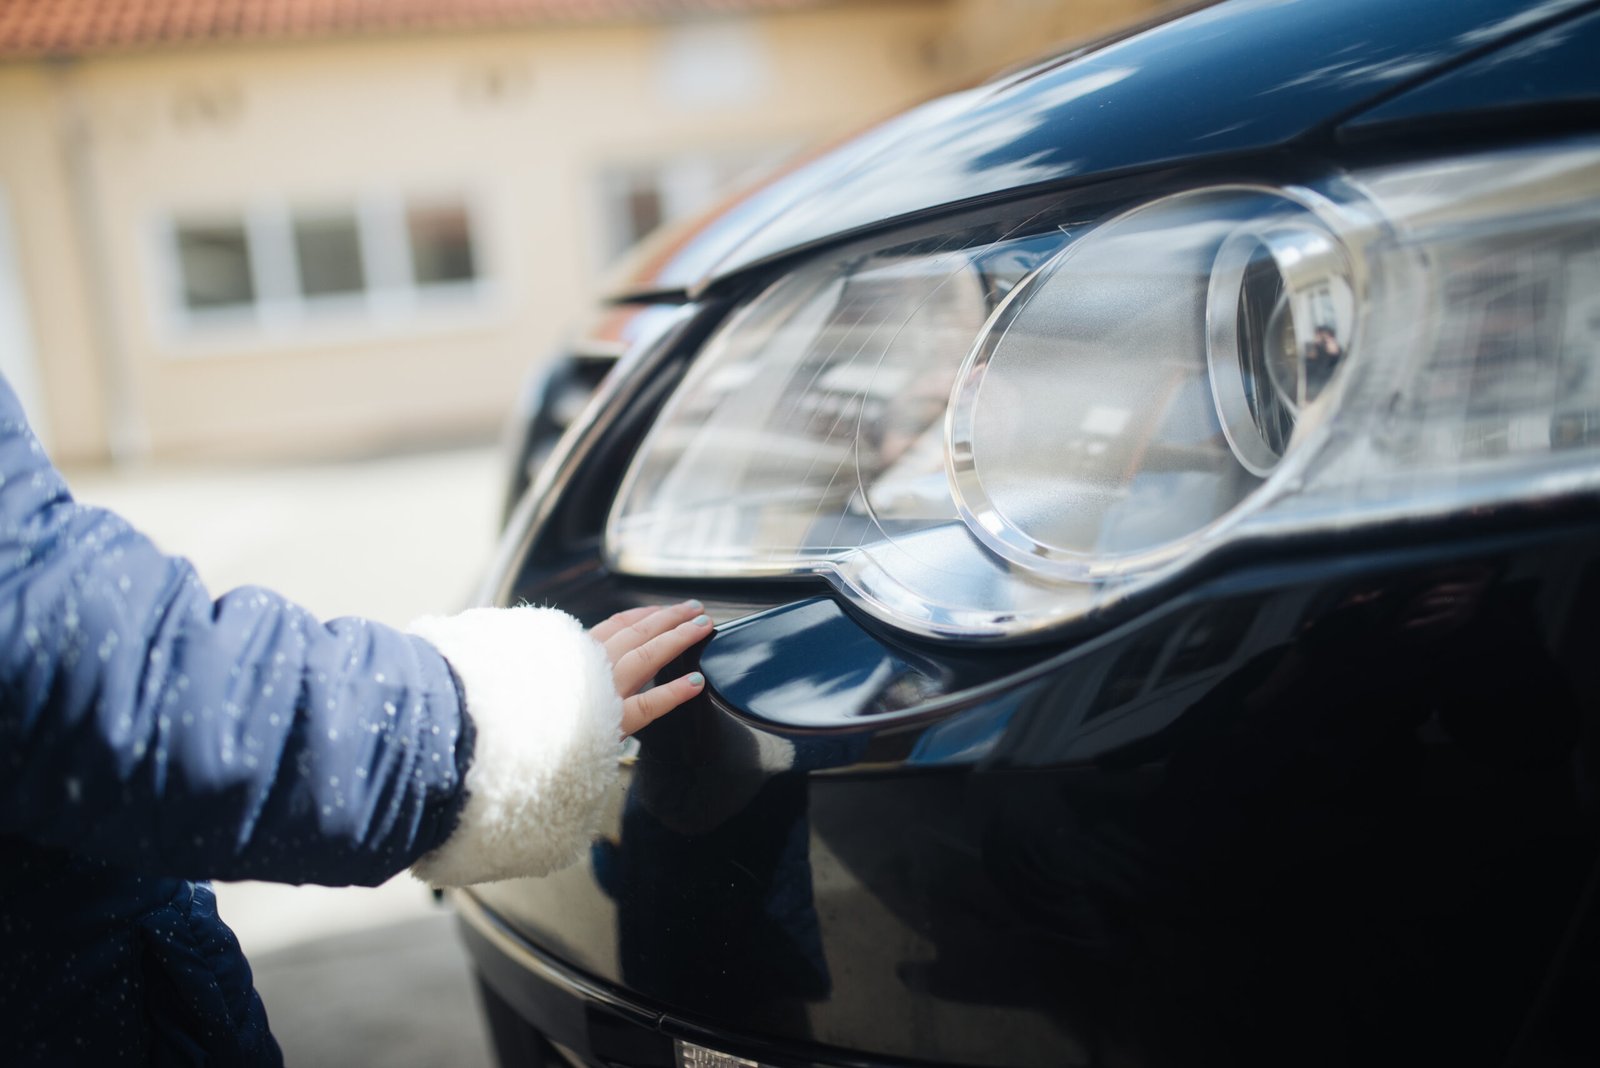
Featured image credit: Photo by Shixart1985, Wikimedia Commons, CC BY 2.0. Context only: a hand touching an unrelated headlamp, not a CERAKOTE application or restoration result.
Cloudy headlights are not all cloudy for the same reason. A hazy film on the outside of a plastic lens is different from moisture or fogging inside a sealed lamp. Before buying a restoration kit, identify which side of the lens is affected and inspect for cracks, delamination, or damage that sanding cannot correct.
The CERAKOTE Ceramic Headlight Restoration Kit (Amazon ASIN B084RQKLV8, one-vehicle-kit selection) is a three-step surface process. The manufacturer lists eight oxidation-remover wipes, a sanding pommel with two 2000-grit and two 3000-grit discs, and two ceramic-coating wipes. Its product page says the kit is enough for two headlights. That is package information, not an independent durability test. See the manufacturer’s kit details.
First check: is the problem on the outside?
Look at the lens from several angles in good light. A yellowed or rough exterior surface may be a candidate for a surface-restoration process. Condensation or haze behind the outer lens, a cracked housing, or damage within the lamp assembly calls for diagnosis of the lamp itself; the kit’s instructions describe treatment of the exterior surface and do not establish that it repairs internal moisture. If the cause is uncertain, pause before sanding.

Also consider the condition and construction of the particular headlamp. The manufacturer’s directions do not establish compatibility with every vehicle, coating, or lamp technology. Do not assume that one successful result on another car transfers to yours.
Follow the supplied sequence
Read the current printed directions and safety information before opening the wipes. Cerakote describes Step 1 as an oxidation remover, Step 2 as surface preparation with an abrasive pad and discs, and Step 3 as a ceramic coating that bonds to the lens surface. The maker’s sequence matters because the coating depends on a clean, fully dry prepared surface. Read the official instructions.
The printed instructions specify working in the shade, washing and rinsing the lamps, and wearing gloves. Apply Step 1 to both headlights before sanding. If it gets on painted surfaces, remove it immediately as directed. Wet-sand with the supplied 2000-grit disc followed by 3000 grit, using even non-circular passes and avoiding the paint. Rinse away residue and dry the lens and surrounding area completely before coating; the instructions warn that leftover moisture can damage the finish.
For Step 3, the directions call for one wipe per headlight and a single horizontal application from top to bottom with about 50 percent overlap. Do not go back over a section once it has dried. Keep the lamps out of driving and humidity for at least 60 minutes, following the package directions if they differ. These are the manufacturer’s directions, not a hands-on test by ONELROR.
Take the safety sheet seriously
The Step 3 safety data sheet classifies the liquid as highly flammable, harmful if swallowed, capable of severe skin burns and eye damage, and a possible skin sensitizer. It calls for protective gloves and eye/face protection and keeping the product away from heat, sparks, and open flames. Keep the materials away from children and follow all package warnings. If you cannot provide a safe, shaded work area and the required protection, do not start. Read the Step 3 safety data sheet.

What the kit does not answer
The kit is not a repair for internal condensation, a broken housing, or every form of lens damage. The manufacturer’s guarantee and marketing claims are not independent evidence of a particular result or lifespan. This guide makes no promise that the kit will restore a specific vehicle or last for a stated period. Confirm the exact kit contents and instructions for the Amazon variation before ordering; the manufacturer SKU and UPC are identifiers for the maker’s kit, not proof that they equal the Amazon ASIN.
If your issue is clearly exterior oxidation and you are comfortable following the supplied sanding and chemical-safety steps, compare the included materials with the work you need to do. If the lamp is cracked, fogged internally, or structurally damaged, investigate that cause first rather than treating the exterior as the whole problem.
Check the selected one-vehicle CERAKOTE kit on Amazon
Editorial sources: CERAKOTE product page, official headlight instructions, and Step 3 safety data sheet linked above. No hands-on test was performed.
ONELROR Editorial Team · October 27, 2026