

Vegetable Frittata: A Measured Method from Prep to Safe Leftovers
Vegetable Frittata: A Measured Method from Prep to Safe Leftovers
A broccoli, red pepper and cheddar frittata with clear quantities, a deliberate oven sequence, temperature checks and a practical plan for tomorrow’s portions.
OnelROR Editorial Team · October 9, 2026 · Miami, America/New_York · 25 min read
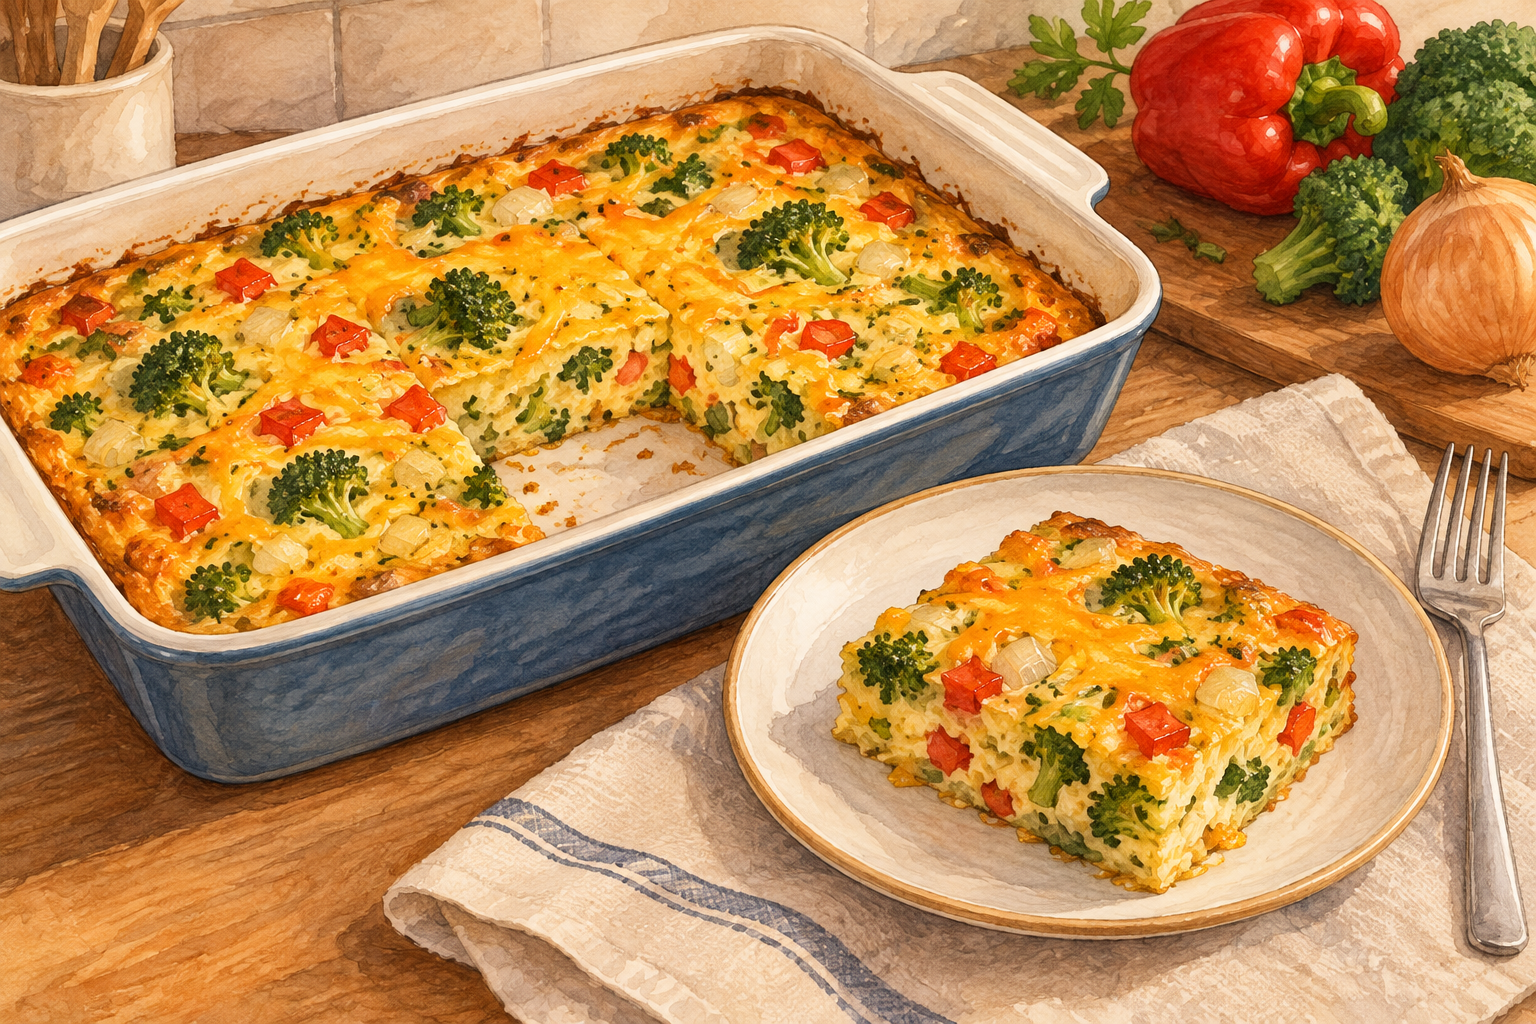
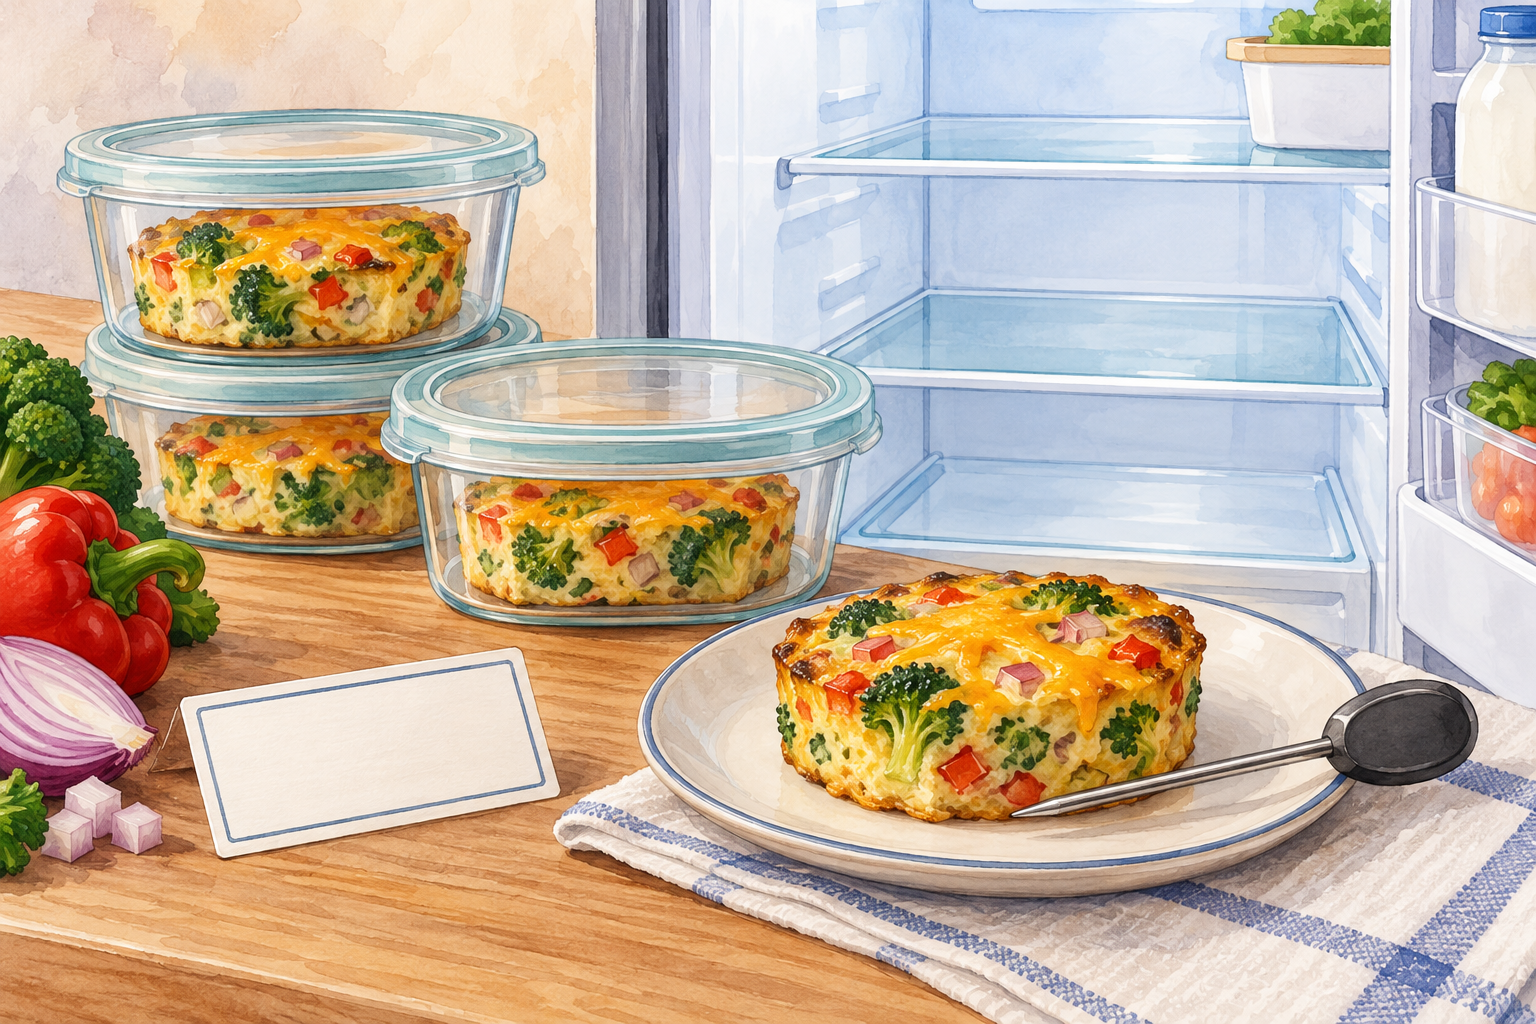
The three original AI-generated watercolor illustrations are conceptual, not photographs of tested food. This is a source-based recipe adaptation; OnelROR does not claim a kitchen trial.
A practical recipe, with its assumptions in view
A vegetable frittata turns a bowl of eggs and a prepared filling into portions that can be served together. The attraction is straightforward: one baking dish, a visible ingredient list, and a result that can be divided for dinner or packed for another meal. This version uses broccoli, red bell pepper, onion, and cheddar. Its purpose is to make the sequence understandable, especially the transition from wet vegetables to a set egg dish. It is not a shortcut that bypasses safe handling or an invitation to pour every leftover in the refrigerator into one pan.
The starting quantities and baking arrangement come from University of Nevada, Reno Extension’s Frittata Recipe, credited to N. Mazzullo in 2024. The particular broccoli-and-pepper combination here is an editorial choice within that recipe’s seasonal-vegetable framework. FDA egg guidance and University of Florida Extension food-safety guidance provide separate checks on handling and storage. The instructions below distinguish those published foundations from practical planning suggestions. OnelROR has not conducted or claimed a kitchen test, and the illustrations are conceptual drawings rather than photographs of a cooked trial.
Read the short recipe first, then use the later sections to answer the questions that matter in your kitchen: whether your dish is the right size, how finely to prepare the filling, what to do about moisture, and how to arrange the next meal. You do not have to remember every explanation while cooking. Keep the quantities, sequence, and temperature check within reach. Treat approximate timings as opportunities to inspect the food, rather than as guarantees that every oven, pan, and ingredient will behave identically.
This recipe is designed around eight equal portions from a rectangular dish. A portion is a division of the batch, not a claim that it will satisfy every appetite or provide a complete meal. Decide what will accompany it and how many portions will be refrigerated before starting. That small decision helps keep the recipe practical: you can prepare suitable containers and reserve tomorrow’s portion before the whole dish becomes a serving platter that sits on the table.
The recipe at a glance
For one 9-by-13-inch baking dish, gather 12 medium eggs; 1½ pounds, about 680 grams, prepared broccoli and red bell pepper combined; two medium onions; four ounces, about 113 grams, low-fat cheddar; one teaspoon dried thyme; ½ teaspoon salt; ¼ teaspoon ground black pepper; and nonstick cooking spray. A useful editorial split is about 450 grams broccoli and 230 grams pepper. Those weights refer to the pieces going into the recipe after trimming. No milk, flour, potato, or meat is part of this baseline.
Heat the oven to 350°F, approximately 177°C. Blanch the small vegetable pieces for about 30 seconds and drain. Soften chopped onions in a sprayed skillet for about five minutes; add the vegetables and cook about five minutes more, checking tenderness and reduced moisture. Beat the eggs with the thyme. Coat the baking dish, spread in the filling, pour over the eggs, and distribute the cheese and measured seasonings. Bake for about 35 minutes, checking for set eggs and an internal temperature of at least 160°F, approximately 71°C. Divide into eight portions. These timings are adapted from the Extension recipe, not a cooking test by OnelROR.
Allow approximately the published recipe’s 70-minute total as a planning starting point, with room for your own preparation speed and temperature checks. The total is not a promise. Washing produce, checking a thermometer, and finding a suitable dish can take longer than expected when these are new tasks. If you need dinner at an exact time, prepare the accompanying food separately and build in a buffer rather than increasing the oven temperature to chase the schedule.
Keep this ingredient list as the reference batch. Optional changes are discussed later, but adding a second cheese, a large pour of milk, extra vegetables, or an uncooked protein changes the mixture you are trying to cook. The most useful first attempt follows one set of quantities and records what happened. Once you understand the pan and filling, make a deliberate change rather than several simultaneous adjustments whose effects are hard to untangle.
Choose the dish before preparing the filling
Use a sound baking dish intended for oven use, with approximately the stated rectangular dimensions. Check its manufacturer’s directions for temperature limits, sudden temperature changes, and safe placement. A dish that looks similar in a cupboard is not automatically interchangeable with the recipe’s pan. Its interior depth, wall thickness, and material can affect the cooking pattern. Avoid using a damaged dish or assuming that a decorative platter can go into the oven simply because it is ceramic.
The reason to identify the dish first is organizational. You can see the area you are filling, select a skillet large enough to prepare the vegetables, and make sure the dish will fit on the chosen rack. Set out a heatproof landing place and dry oven mitts. Remove unnecessary objects from the route between oven and counter. These are practical arrangements for handling a hot, relatively heavy dish; they do not depend on buying a special pan or following a particular kitchen layout.
Gather a mixing bowl, fork or whisk, knife, cutting board, colander, spatula, and food thermometer. Read the thermometer instructions before cooking, including where its sensor is located and how to clean the probe. Some probes need more insertion depth than a shallow slice allows. If your instrument cannot measure the center without touching the pan, resolve that before relying on its display. A temperature number is only useful when the probe measures the food you intend to check.
A kitchen scale can make the vegetable total easier to reproduce, but it is not required to buy one for this meal. If you use a scale, place an empty bowl on it, tare the display, and weigh the prepared pieces. Check the unit setting before adding ingredients. Keep the measurement separate from package weight: a whole broccoli head may include stem and trim that will not go into the dish. For cheese, use the package’s stated weight or measure the amount you actually shred.
Shop for the batch you intend to cook
Choose a broccoli head with usable florets and firm stem sections, a sound red pepper, and onions suitable for chopping. Look at the ingredients already in your kitchen before buying replacements. The goal is to assemble a measured batch, not to purchase an oversized collection of vegetables because the recipe sounds flexible. A partly used pepper can be useful if it has been stored appropriately and is still sound; an ingredient with an uncertain history should not become a frittata filling simply to avoid discarding it.
The eggs in the published baseline are medium. Check the carton rather than assuming that any dozen has the same size. Using a different egg size changes the amount of egg in the batch, so it is an adaptation rather than an exact repetition of the starting recipe. If you already have large eggs and want a recipe written for them, use a reliable large-egg formula and its corresponding pan. There is no need to create an improvised conversion while managing hot vegetables.
Read the cheese label for the amount in the package and any dietary information relevant to the people eating. The baseline uses low-fat cheddar. A block and a bag of shredded cheese may both be workable ways to obtain that ingredient, but the package price alone does not tell you the cost of the portion used. Nor does the word low-fat mean the finished dish can be described as suitable for every medical diet. This article does not provide personalized nutrition advice or a calculated nutrient panel.
Consider the rest of the menu before deciding whether eight portions are the right batch. A small household can serve some and store the remainder, provided there is refrigerator space and a plan to use it. If that plan is absent, a smaller published recipe may be more useful than forcing this quantity into a tiny pan. Waste prevention starts with choosing a realistic amount, not with finding reasons to keep cooked food longer than its safe storage guidance.
Prepare a clean working area and the vegetables
FDA’s produce guidance recommends washing hands with soap and water for 20 seconds, rinsing produce under plain running water, and avoiding soap or produce wash on the food. For this dish, wash the pepper and broccoli before cutting and dry them with a clean cloth or paper towel. Use clean tools and a clean colander. Washing reduces surface contamination; it does not make every ingredient sterile or erase a recall. If an ingredient is covered by a recall, follow that notice rather than treating washing or cooking as a workaround.
Cut broccoli into small, manageable pieces so a serving does not contain one large, firm floret surrounded by egg. Trim the stem and use tender, peeled sections if you want them in the filling. Cut the pepper into similarly manageable pieces after removing its stem and seeds. The aim is a reasonably even filling that can spread across the dish. Exact geometric cubes are unnecessary, but a pile containing very large and very small pieces makes later texture judgments more difficult.
Peel and chop the onions separately. Keeping them separate matters because the baseline prepares them in the skillet rather than treating them as part of the brief vegetable blanch. Put the prepared ingredients into separate bowls or distinct areas of the board. You should be able to identify the onion, the combined broccoli-and-pepper weight, and the cheese without mentally subtracting ingredients from one mixed pile. This simple arrangement makes it easier to follow the sequence while checking the stove.
Do the ready-to-eat side dish before opening eggs, or use separate clean tools and surfaces for it. Then put the egg bowl where it will not splash toward salad, bread, or serving plates. Clear packaging and trim from the counter as you go. A tidy work area is useful here because it reduces accidental mixing of raw-egg equipment with the equipment that will handle cooked portions. It also gives you space to put down a hot dish without balancing it over unwashed utensils.
A preparation sequence that avoids last-minute decisions
Start with the oven, baking dish, prepared vegetables, and grated cheese. Once those are organized, bring water to a boil for the brief blanch and prepare the skillet for the onions. Keep the egg mixture refrigerated until the filling is ready to assemble rather than letting it sit beside the stove throughout a long preparation session. The sequence should minimize unnecessary waiting with perishable ingredients exposed. It should also let you watch the actual cooking step in front of you instead of searching for cheese while onions begin to scorch.
Write a small task order if you are cooking with someone else: vegetables, skillet filling, egg bowl, assembly, oven check, portions. Divide tasks by tools and work areas rather than having two people reach into the same hot skillet. One person can prepare a side dish and storage labels while the other handles the filling. Decide who is responsible for the temperature check. A shared assumption that somebody else checked the center is less useful than a clear assignment.
Prepare the seasonings before the assembly step. Measure the dried thyme, salt, and pepper into separate small containers or use the measuring spoons directly when needed. This helps prevent a rushed extra pour when the dish is ready for the oven. If reducing salt for personal preference, make that one deliberate adjustment and avoid compensating with an unknown amount of a salty seasoning blend. Keep the original quantity written down so the next batch can be compared with this one.
Plan the landing place for both the colander and the finished dish. A colander of hot vegetables needs a stable position that allows drainage without dripping across the counter. A hot baking dish needs a suitable trivet or protected surface. The practical benefit is fewer interruptions in the recipe’s transitions. When a step ends, you know where its output belongs and what comes next, rather than holding hot equipment while trying to clear space.
Prepare vegetables for tenderness and controlled moisture
The egg industry’s mixed-vegetable frittata demonstration offers a useful contrast to the Extension baseline: it cooks different vegetables in stages and lets released liquid evaporate before adding eggs. It is a different recipe, not a second set of quantities to combine with this one. The common lesson is to prepare the filling before asking the eggs to set around it. That is particularly useful when a vegetable mixture includes ingredients with different textures or visibly different amounts of moisture.
For the baseline here, the brief blanch is a starting treatment rather than proof that every vegetable piece is tender enough. Drain thoroughly and complete the filling preparation in the skillet. Check a representative piece of broccoli with a fork or taste a piece using a clean utensil before it has contact with raw eggs. The filling should have the texture you are willing to eat in the finished portion. If it is still unpleasantly hard, continue preparing it rather than assuming the surrounding eggs will solve the problem.
Watch the bottom of the skillet when stirring. A pool of liquid moving ahead of the vegetables is a useful sign that there is still excess moisture to manage. Steam rising from the skillet does not, by itself, tell you how much liquid remains. Use a spatula to move a small patch aside and inspect the exposed surface. This is a practical observation method, not a measured moisture test. Do not try to dry the vegetables to the point of burning or turn a gentle preparation step into aggressive browning.
If the skillet is crowded, prepare the filling in manageable batches and combine it before assembly. Keep the same total ingredient quantity. Crowding is an equipment issue, not a reason to discard part of the recipe or double its cooking heat. Take a note if the pan was too small: that information may explain why your preparation took longer than the published planning time. Next time, choose equipment that allows the filling to be stirred and inspected comfortably.
Cook the onions without losing track of the whole filling
Onions are a distinct part of this baseline, not an ingredient hidden inside the vegetable weight. Prepare them until softened, watching for sticking or dark spots at the bottom of the skillet. The desired result is a usable filling with a pleasant texture, rather than a claim that a particular shade of brown is mandatory. If your pan begins to scorch, reduce the heat and reassess the cooking surface. Follow the pan and cooking-spray manufacturers’ directions, including any limits on nonstick equipment and spray use.
Once the prepared broccoli and pepper join the onions, stir so you can inspect more than the top layer. Look for pieces that are still firmer than the rest and for liquid accumulating underneath. Finish that adjustment before eggs are introduced. The filling stage is your main opportunity to correct vegetable texture without also trying to control the egg texture. Later, when the mixture is in the oven, you cannot selectively cook one stubborn broccoli piece while leaving the neighboring egg untouched.
Keep the finished filling ready for prompt assembly. Do not leave it sitting while you run an unrelated errand or start a second elaborate dish. If you are interrupted, treat the interruption as a food-handling decision, not merely a pause in the recipe clock. The timing and storage limits in the safety sections apply to ingredients and cooked food, even when dinner plans change. A recipe that can be divided into stages still needs each stage to be handled appropriately.
Before transferring, distribute the vegetables in the skillet so you can see whether the combination still resembles the planned batch. This is a good moment to catch a simple omission, such as prepared pepper left in a bowl. It is also the moment to resist unmeasured extras. Adding the rest of a bag of frozen vegetables now can change the amount and moisture of filling without changing the egg quantity. Save an appropriate unused ingredient for another recipe rather than treating the dish as unlimited capacity.

Mix the eggs as a separate component
Break each egg into a small clean bowl before adding it to the larger mixing bowl. This makes a shell fragment easier to remove and avoids searching through a dozen mixed eggs for a small piece. Use clean equipment and do not taste raw egg mixture. Beat the eggs until the yolks and whites are blended, then incorporate the measured dried thyme. The goal is an even mixture that can reach the spaces between vegetables, not a whipped foam prepared for a different kind of recipe.
Keep track of the count as you work. If interruptions are likely, move eggs from the carton in a deliberate order and keep the empty shells separate from the work area. When a carton contains eggs left from a different purchase, do not assume its remaining count or size matches the recipe. Count what goes into the bowl. A small written mark after each egg can be more reliable than trying to reconstruct the number from memory after answering a phone call.
The baseline does not add milk or cream. That makes one common source of accidental variation easy to avoid: a splash intended to make the mixture softer can become a substantial extra liquid quantity. If you want a milk-containing frittata, select a formula that specifies it and use that formula’s proportions. The separate Samaritan Health Services spinach-and-potato recipe, published January 7, 2025, illustrates that another reliable source can use different ingredients and a different cooking method without those details becoming interchangeable.
After the eggs are mixed, move the raw-egg tools out of the serving area. Use clean utensils for cooked food and clean surfaces before preparing an accompaniment that will not be cooked. The practical transition is from preparation equipment to serving equipment. Make that transition visible in your kitchen: the raw mixture bowl stays with the preparation step, while the clean spatula, plates, and containers are ready for the finished dish.
Assemble an even layer and bake with a check planned
Spread the prepared filling across the coated dish before pouring the eggs. Look at both ends and the corners rather than leaving the vegetables in a mound at the center. Pour the egg mixture steadily so it can settle between pieces, and distribute the cheese rather than piling it onto one serving. This even arrangement is a practical assembly aim. It does not guarantee identical heating everywhere, which is why the later center check remains necessary.
Place the dish on the intended oven rack without crowding it among several other pans. Start a timer as a reminder to inspect, and record the oven setting if you are keeping a cooking note. When the check time arrives, assess the dish rather than treating an alarm as an instruction to remove it immediately. The published baking estimate belongs to a particular recipe arrangement. A different dish material, filling temperature, or oven behavior can change how quickly the center reaches the required endpoint.
Observe the eggs separately from the cheese. Cheese can melt while egg remains undercooked beneath it, and a browned patch at one edge cannot establish the temperature in the middle. If you are uncertain, use the food thermometer correctly and continue cooking when the endpoint has not been reached. Do not use a browned topping as a substitute for the temperature measurement. This distinction helps avoid a visually attractive surface concealing an unfinished center.
Leave any major variation for a future batch. Adding extra cheese halfway through cooking makes the surface harder to interpret and turns this into a different formula. Switching to a broiler because the top seems pale introduces another method and an equipment-safety question. A modest-looking top is acceptable when the dish is safely cooked and the texture suits you. The purpose of this recipe is a well-handled meal, not an image that has to match the conceptual opening illustration.
Check the center before serving
FDA specifies 160°F for casseroles and other dishes containing eggs and advises using a food thermometer. For this vegetable-and-egg baseline, use that internal endpoint with a set, fully cooked mixture. The oven setting and food temperature are different measurements. Air heated to 350°F does not mean the center of the food has already reached its endpoint. Follow the probe instructions, avoid touching the dish itself, and check the central food rather than only a thin, browned edge.
Take the measurement where the egg mixture is substantial, not in an empty gap or directly against a hot piece of the dish. If the center is too shallow for your thermometer’s sensing area, use an instrument appropriate for that food depth. Wait for the reading as the manufacturer directs. Clean the probe between checks when needed and after use. If one measurement seems inconsistent with the food’s condition, reposition correctly and investigate; do not select the most reassuring number without understanding how it was obtained.
When the center has not reached the endpoint, continue cooking and check again. Keep a note of the additional time if you want to learn how your oven and dish behave. That note describes your batch; it should not become a universal rule for every future batch. Variations in filling preparation and starting temperature can still matter. Avoid serving an undercooked portion while the remainder stays in the oven, because the uneven result means the dish needs further attention.
The temperature check belongs to the meal itself, not merely to documenting the recipe. A photograph, a clean-looking knife, or a timer cannot replace it. Arrange the thermometer where it is visible when you prepare the serving tools. That makes the final check part of the sequence rather than a forgotten accessory in a drawer. If you cannot verify the endpoint appropriately, do not present uncertainty as confirmed doneness.
Divide portions and choose useful accompaniments
After the dish is fully cooked, handle it with dry oven mitts and put it on the prepared heatproof surface. Give it a brief moment to settle enough for comfortable cutting while keeping service prompt. Use a utensil suitable for the dish material. To divide into eight portions, make one cut along the long centerline and three evenly spaced cuts across it, creating two rows of four. This is a practical cutting pattern, not a precision measure of identical nutrient content.
Lift a portion with a broad serving tool rather than trying to suspend it from the tip of a knife. If the first portion breaks, serve it without pretending that a perfect square determines the quality of the meal. Inspect whether the problem is simply release from the dish or a more substantial texture issue. Do not infer food safety from how neatly a portion holds together; the cooking check has a separate role.
Choose accompaniments that suit the meal. A simple salad, bread, or prepared vegetables can give the plate variety without introducing another complicated cooking sequence. Keep any ready-to-eat accompaniment separate from raw-egg equipment. Dress salad close to serving if that suits your preference, and serve the foods in separate containers when saving portions. The aim is an enjoyable plate and a manageable next meal, rather than an unsupported claim that one square supplies every nutritional need.
Reserve the portions intended for storage with clean utensils before repeatedly serving from the pan. Put them into the prepared shallow containers and follow the refrigeration guidance below. This reduces the number of times tomorrow’s food moves between table and storage. It also makes portion planning visible: you can see how many meals remain instead of estimating from an irregular gap in a large dish.
Change vegetables deliberately, not by adding everything
If you want to use a different filling, begin with the measured vegetable total and decide which ingredient will replace another. A substitution is different from an addition. Replacing part of the pepper with another prepared vegetable keeps the planned amount more understandable than adding a whole bag on top of the existing batch. Texture and moisture still need assessment. The interchangeable word vegetables does not mean every ingredient behaves identically in the skillet or releases the same amount of water.
Consider preparation before choosing a substitute. A harder vegetable needs a different degree of advance cooking from a tender leaf. A watery vegetable needs appropriate moisture management. For a first batch, keep the broccoli-and-pepper baseline. For a later adaptation, select one change and record the prepared amount and treatment. That approach helps you learn whether a texture difference came from the ingredient, its cut size, or how it was prepared.
Frozen vegetables are another adaptation, not an invitation to skip package instructions. Follow the product’s cooking directions and use a reliable recipe that accounts for its preparation. The Extension baseline includes guidance for frozen vegetables, but the specific package can require its own treatment. Do not assume a frozen ingredient is ready to eat because it looks clean or comes in small pieces. Keep the final filling manageable and drained before combining it with the eggs.
This baseline contains egg and milk-derived cheese. Leaving out the cheese does not make an egg-containing recipe vegan or suitable for someone avoiding eggs. Substituting a plant-based cheese can introduce other ingredients and allergens, so read its label and discuss needs with the people eating. This article does not provide an allergy-safe reformulation. If a person must avoid an ingredient, use a suitable established recipe rather than relying on an improvised swap described as universally safe.
Scale portions without overlooking pan depth
The safest way to reproduce the baseline is to keep its ingredient quantities and stated dish. If you need a smaller batch, prefer a reliable recipe written for that batch and pan. Ingredient arithmetic alone does not establish a new baking time. Halving everything but using the full-size dish makes a different layer thickness; halving everything and pouring it into a very small deep dish makes another. Those changes require attention to cooking behavior and the same verified endpoint.
For a larger gathering, separate full batches in their corresponding dishes are easier to describe than one oversized, much deeper batch. Check the oven’s capacity and the time needed to measure each dish appropriately. Two dishes do not automatically finish at the same moment. Organize serving so one completed dish can be handled safely while another continues cooking. Keep each batch’s ingredients and storage plan clear, especially if one has a dietary adaptation.
Use a simple portion calculation for planning: eight equal divisions from the baseline can be allocated among the people eating and the meals you intend to save. Do not confuse portion count with appetite. If you want two squares for one person’s dinner, record that as two portions used. Then count the actual remainder. This helps prevent a meal plan built around eight hypothetical lunches when several portions were eaten at the first service.
A useful adaptation note records what changed and what did not: dish dimensions, ingredient amounts, oven setting, starting condition, and measured endpoint. It need not be a laboratory report. A few lines are enough to stop an adjusted batch from being remembered later as the original recipe. That distinction is helpful when sharing instructions with somebody else, because they can identify the baseline instead of unknowingly combining your changes with their own.
Store leftovers promptly and label the real cooking date
FDA advises refrigerating leftover cooked egg dishes and using them within three to four days. It also specifies shallow containers for a large amount of hot egg-containing leftovers, a refrigerator at 40°F or below, and a maximum of two hours out of refrigeration, shortened to one hour above 90°F. Those limits matter in a warm climate as well as in a kitchen. Refrigerate promptly; do not leave the whole dish on the counter until it has completely cooled.
Prepare containers that hold modest portions without forming a deep stack. Leave room in the refrigerator for air circulation and protect the food from raw-ingredient drips. Follow the container’s instructions for heat, lids, and refrigerator use. The practical purpose of dividing the batch is to make cooling and later meal selection more manageable. Packing everything into one tall container because it occupies less shelf area defeats that useful organization.
Label the container with the cooking date and a plain description. If several batches look similar, add the ingredient change or the intended meal. For a batch cooked on Friday evening, write the actual Friday date rather than the Saturday on which you expect to eat it. Reheating a portion does not create a new cooking date for the remaining original batch. A storage label should make the food’s history clearer, not extend it through optimistic renaming.
If the storage history is uncertain, a fresh-looking surface is not a reliable reason to keep the food. University of Florida’s guidance explains that unsafe handling may not change taste, smell, or appearance. Do not taste a questionable portion to decide whether it is safe. Good meal planning gives you a use date and safe handling from the start; it does not depend on guessing later. Freeze suitable portions before the refrigerator-use window runs out if you need longer storage.
Reheat the portion you will eat and pack it cold
FDA specifies thoroughly reheating cooked egg dishes to 165°F before serving. University of Florida’s guidance adds practical microwave checks: arrange the food evenly, cover appropriately, rotate where needed, allow resting time, and check several places because microwaves can leave cold spots. Use microwave-safe or oven-safe equipment as appropriate and follow the appliance and container instructions. Reheat only the portions you intend to eat rather than repeatedly warming the entire remaining batch.
A small portion and a crowded container require different attention. Separate pieces enough to let the chosen reheating method work, and verify the center rather than judging only the exposed surface. A microwave display counts time, not internal food temperature. Likewise, a hot plate does not establish that the portion above it is heated through. Clean the thermometer probe before and after use, and read the instrument correctly.
For a packed meal, chill the portion appropriately first and maintain refrigeration or use an insulated carrier with suitable cold packs. The transport plan is part of the meal plan. A long commute, an errand, and a warm car cannot be ignored because the food started in a refrigerator. If refrigeration is unavailable at the destination, make a realistic cold-storage arrangement or choose another meal. Do not assume that a sealed lid makes a perishable egg dish shelf-stable.
Freezing can support a later meal, but the recipe is not a promise that frozen and fresh textures will be identical. Date the portion, use packaging intended for freezer storage, and choose a safe thawing method. Refrigerator thawing is a straightforward planning option. Do not thaw perishable portions on the counter. If thawing in a microwave, follow the food-safety guidance to continue immediately into cooking or reheating, rather than returning a partly warmed portion to a long waiting period.
Troubleshoot one problem at a time
If liquid appears around a slice, investigate its likely source instead of automatically baking every future batch much longer. Was the vegetable filling visibly wet when assembled? Were frozen ingredients prepared and drained appropriately? Did you add liquid beyond the baseline? These questions lead back to observable decisions. A watery portion is not, by itself, a diagnosis of one cause. First make sure the cooking endpoint was verified, then use the preparation note to decide what you would change.
If vegetables are harder than you wanted while the eggs are fully cooked, the useful adjustment belongs in vegetable preparation. Cut more evenly, check a representative piece before assembly, and complete the filling stage. Extending the whole bake to solve a firm vegetable piece can affect the egg texture as well. Keep these two stages conceptually separate: prepare a filling you want to eat, then cook the surrounding egg mixture safely.
If edges are dry while the center needs more cooking, review the pan arrangement, layer depth, oven behavior, and starting condition. Do not respond by increasing every quantity and the oven heat simultaneously. Keep the baseline visible and make one careful equipment or preparation adjustment next time. If the pan is unsuitable for the amount, return to the stated dish or another established formula. The point is to identify a plausible cause, not to claim a universal diagnosis from one photograph.
If sticking is the main problem, check whether the dish was coated as directed, whether its surface is sound, and whether the serving tool suits it. A broken first square can simply be a release problem. Do not cover the entire recipe with additional cheese or oil to disguise it. Take a brief note, serve the verified cooked food appropriately, and adjust the relevant preparation detail next time. A useful cooking record describes what actually happened instead of labeling the whole meal a success or failure.
Make the next batch simpler with a short record
A practical record needs only the date, ingredient combination, dish dimensions, oven setting, observed preparation issues, and measured cooking endpoint. Add the number of portions served and stored if meal planning was the reason for making the dish. Keep it short enough to use. The record is for your household’s decisions; it is not evidence that OnelROR tested the recipe, and it should not be presented as a universal guarantee when shared with somebody using different equipment.
To compare costs, use the amount actually used rather than adding the full purchase price of every package to one batch. Divide the batch’s ingredient cost by the actual portions if that comparison helps you plan. Include an ingredient you already owned at an appropriate replacement-cost estimate if you want a fair comparison with another meal. Avoid unsupported claims that this recipe costs a fixed amount everywhere. Local prices, package sizes, portion choices, and unused ingredients all affect the result.
Keep nutritional claims equally concrete. The meal contains eggs, vegetables, and cheese; its exact nutrient content depends on the products and quantities used. The published Extension recipe has its own nutrient information, but this editorial vegetable selection and any household substitutions should not inherit a precise calculated panel automatically. Use product labels or a qualified nutrition resource when exact values matter. For ordinary meal planning, a varied accompaniment and an appropriate portion are more useful than invented calorie precision.
The repeatable result to aim for is a measured filling, an egg mixture handled cleanly, a dish cooked to its verified endpoint, and portions served or stored with a clear history. Those decisions are useful even when the first square is not picture-perfect. Keep the baseline, learn from a specific observation, and make the next change deliberately. That gives the recipe a practical life beyond its first evening without turning flexibility into guesswork.