


Scan Paperwork to a PDF on iPhone: Save It Straight to Files
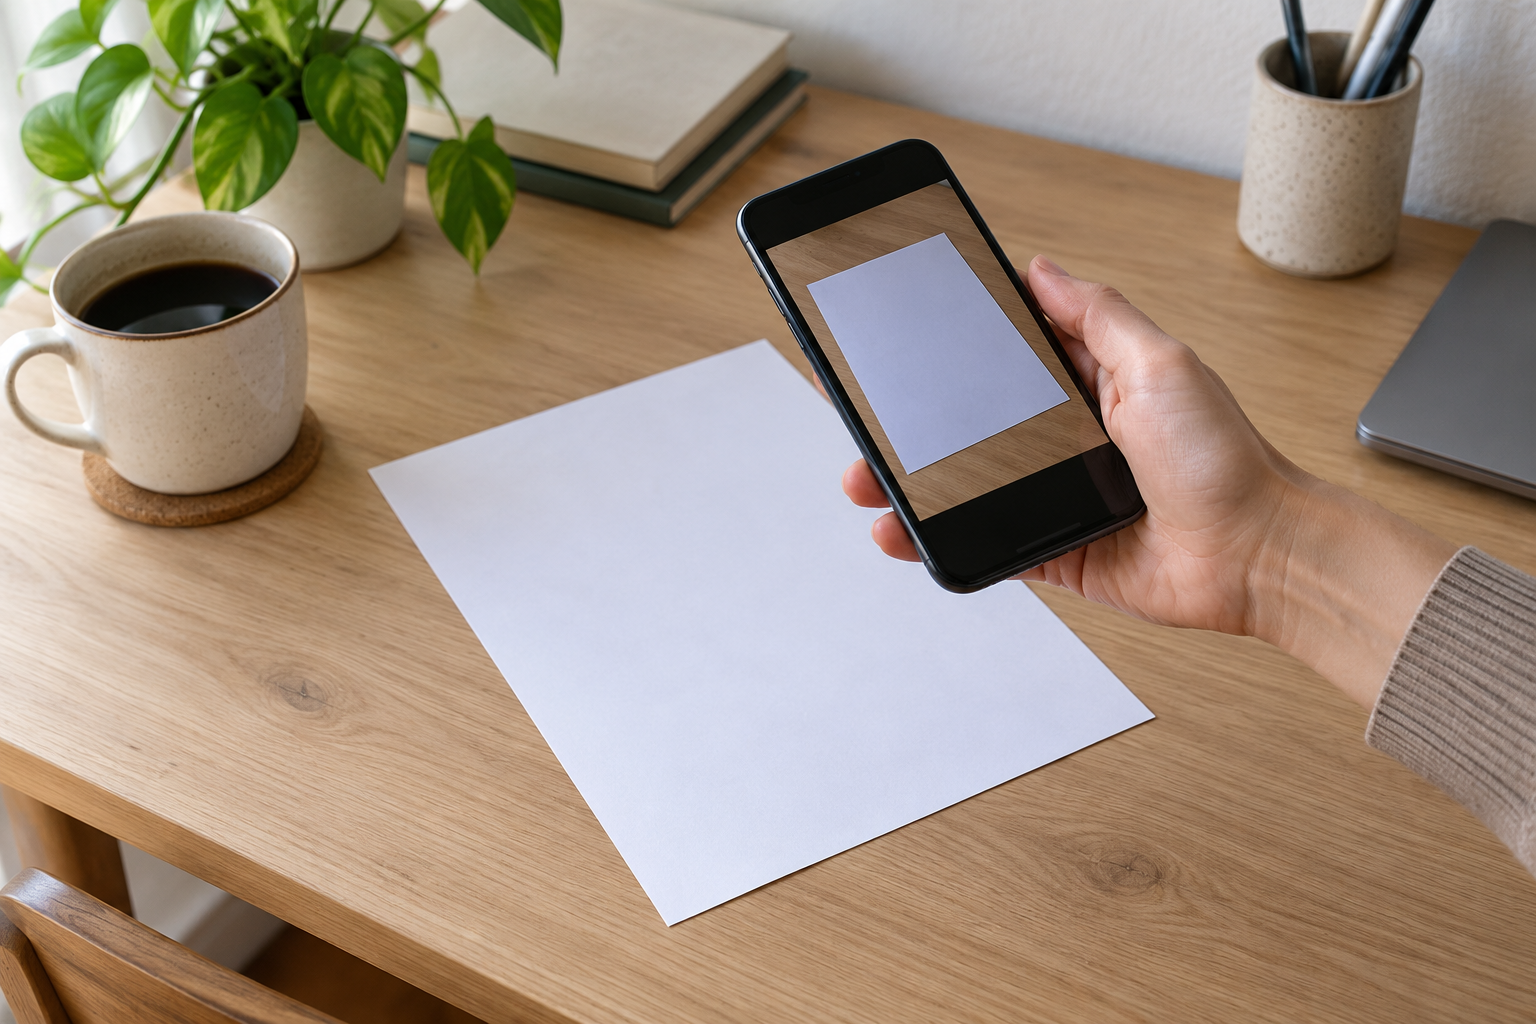
Turn a paper receipt, handout or form into a multipage PDF without a separate scanner. The iPhone’s Files app can capture pages with the camera and save the finished document in a folder you choose.
Scan Paperwork to a PDF on iPhone: Save It Straight to Files
When you need to keep several paper pages together, you do not have to save them as a string of separate photos. Apple’s Files app includes a document scanner: you capture pages in sequence, review their edges, then choose where the resulting file is saved. The names of a few buttons can vary across iOS releases, but Apple’s current support guide documents this basic Files workflow.
Prepare the page and destination
Flatten the page on a stable surface and move loose items out of the camera’s view. Good, even light makes small print easier to check later. Before scanning, decide which folder in Files should hold the PDF; the save-location step comes after capture. For paperwork with personal details, take a moment to confirm that the destination and any eventual recipient are appropriate.
Open the scanner in Files
- Open the Files app and navigate to the folder where you want the finished document saved.
- Tap the More button (•••), then choose Scan Documents. If your version presents a different menu, use Apple’s current Files instructions as the reference.
- Hold the phone above the page so all four edges are visible. Apple says the scanner can capture automatically when it detects page boundaries. If it does not, switch to manual capture and use the shutter control or a volume button.
Review the crop before keeping each page
After capture, inspect the preview instead of assuming the automatic edges are correct. Drag the corner handles so the scan includes the whole page without extra desk area. Tap Keep Scan when the page looks right; use Retake if it is tilted, blurred or missing an edge. A filter may help readability, but check that it has not made faint marks disappear.

Add pages, then save once
Keep scanning the remaining sheets in order. When the last preview is correct, tap Done, choose the folder, and tap Save. Apple’s guide describes adding additional scans before finishing, so the result can keep a multipage document together rather than scattering the pages across your camera roll.
Open the saved PDF from Files and flip through every page. Check that the order is right, text is legible, signatures and edges are present, and the page count matches your original stack. If something is missing, scan the affected page again before you share the file.
Want the scan attached to a note?
If you would rather keep the PDF with written notes, Apple also documents scanning from Notes: open or create a note, tap the attachment button, choose Scan Documents, review pages, then tap Done. For a file you plan to locate and manage by folder, use Files; for a scan that belongs with related notes, use Notes.
Sources: Apple Support, “How to scan documents on your iPhone or iPad” (published February 18, 2026); Apple iPhone User Guide, “Scan text and documents in Notes using the iPhone camera”.