


Build a Word Report That Survives Editing

Build a Word Report That Survives Editing
Give your report a dependable structure, then test its headings, automatic contents list, pagination, and final copy through ordinary revisions.
OnelROR Editorial Team · October 9, 2026 · Miami, America/New_York · 26 min read
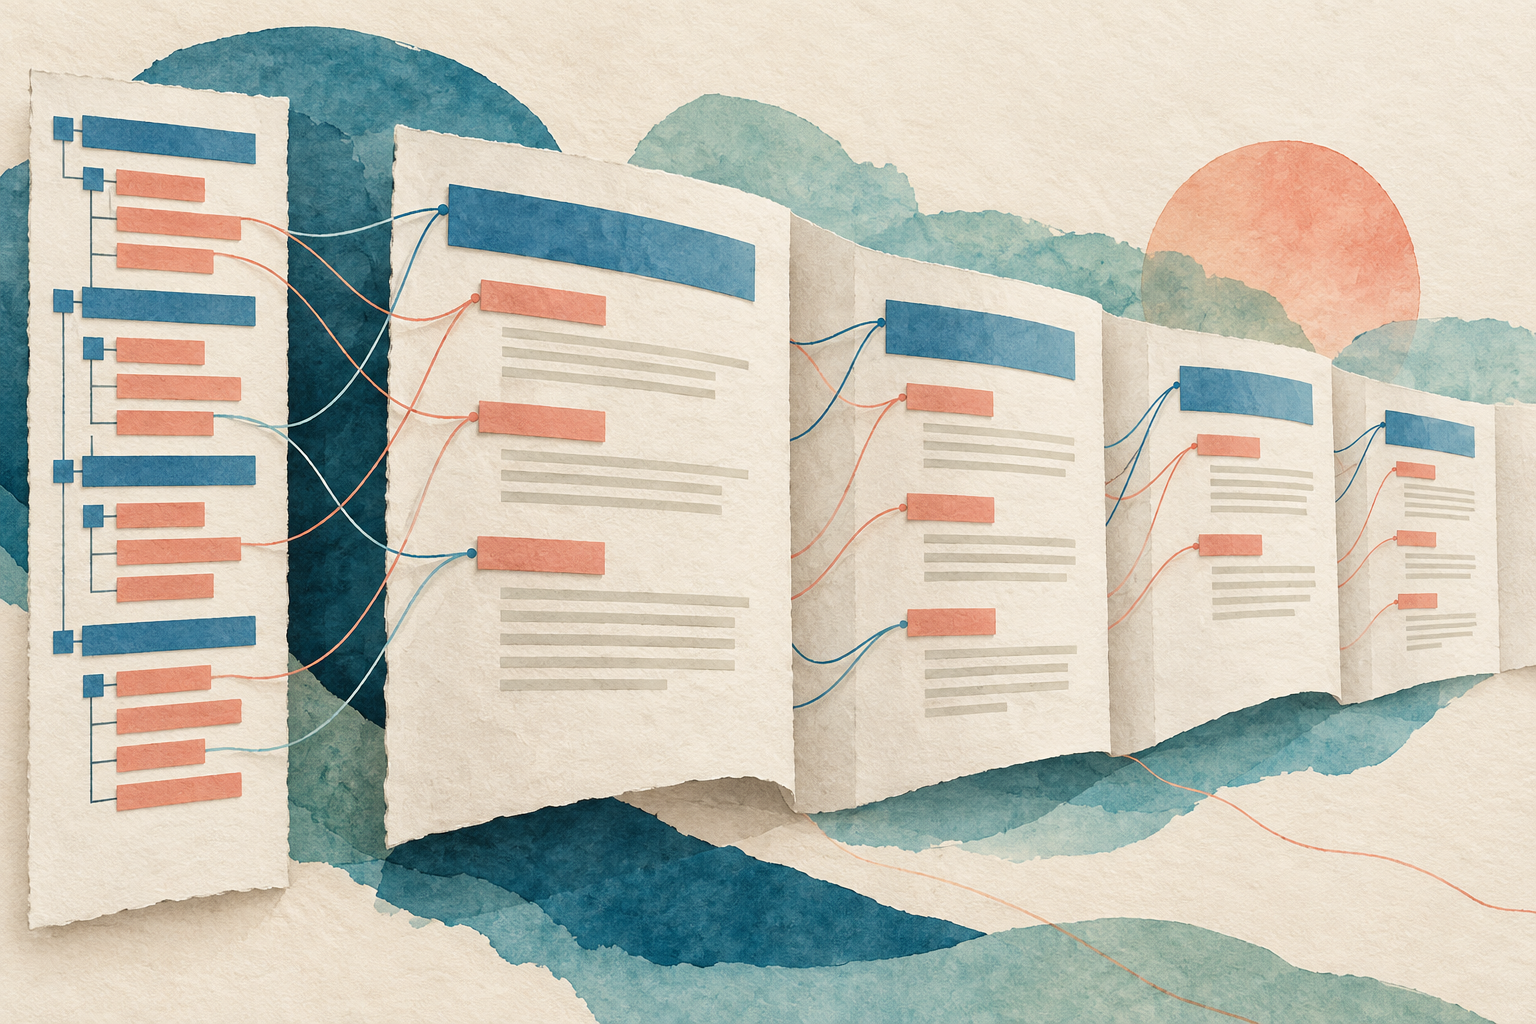
The opening image and two illustrations below are original AI-generated concepts, not Word screenshots or photographs. The workshop report is a fictional practice exercise.
Start with a report you can deliberately change
A report usually becomes difficult to maintain after the first revision, not after the first page. Someone asks for another section, a longer explanation moves a paragraph onto the next page, and the contents list still points to yesterday’s layout. The practical solution is to give the document a structure that Word can recognize, then test that structure while the report is still small. This tutorial builds a fictional Neighborhood Workshop Report. The workshop, participants, outcomes, and examples below are invented exercises, not accounts of an event we attended.
The instructions target the desktop version of Word for Windows, including Word for Microsoft 365 and Word 2024. Ribbon labels can differ with language, window width, and updates; Word for the web and Word for Mac have different interfaces and capabilities. Microsoft’s dated September 30, 2024 announcement describes the October 1, 2024 release of Office 2024. That is version background, not a new release claim for October 2026. The support pages used here were checked on October 9, 2026 in Miami.
Create a blank practice document and save an editable copy with an unmistakable name, such as Neighborhood Workshop Report Practice.docx. Work in that copy throughout the exercises. If you are adapting an existing report, preserve the original separately before changing its structure. This matters because reorganizing a section can move real text, and revising a style can affect many paragraphs at once. A disposable example lets you learn what each operation changes without risking a document that someone else already depends on.
Your finished practice file should answer four questions: why the workshop exists, what preparation it requires, what happened during the fictional session, and what should happen next. It should also have an automatic contents list, a usable outline, consistent headings, and a checked final copy. There is no required page count or decorative theme. Success means the report still makes sense after a heading changes, a section grows, and the contents list is refreshed. Keep those three revision tests in mind before choosing fonts.
Write an outline before decorating the page
Type the report name on its own paragraph. Beneath it, add four separate main section labels: Purpose, Preparation, Session Notes, and Next Steps. Under Preparation, add Materials and Room Setup as two subordinate labels. Under Session Notes, add Activities and Questions Raised. Under Next Steps, add Owners and Follow-up. Leave a short ordinary paragraph beneath each label so you can recognize where its associated text begins and ends. For now, these are just words in a document; the next stage assigns their structural roles.
Draft actual practice content instead of repeated placeholder sentences. Purpose might explain that the fictional workshop helps neighbors plan a shared seed exchange. Materials might list envelopes, markers, and a sorting tray. Room Setup might describe separate arrival and sorting areas. Questions Raised could contain an unresolved question about labeling donated seeds. Owners could name a fictional role, such as workshop coordinator, rather than a real person’s contact information. These choices create useful differences between sections that you can follow when you move or revise them.
Check the hierarchy with a reader’s question. Does Materials describe a kind of preparation, or is it an independent subject as important as the entire session? In this exercise it belongs under Preparation. Does Questions Raised belong under Next Steps? The questions were recorded during the session, while the actions responding to them belong later. Your real report may need a different arrangement, but each subordinate heading should explain one part of its parent. If it does not, rewrite the parent or move the subordinate section before formatting.
Keep labels specific enough to identify their content without making them miniature paragraphs. A heading called Information leaves the reader guessing; Questions Raised tells them what they will find. Avoid giving two sections the same label if they perform different jobs. For example, distinguish Preparation Tasks from Follow-up Tasks when both contain actions. At this point, read only the labels in order. If that sequence cannot explain the report’s argument, the contents list will not repair it later. Restructure the outline while it remains easy to inspect.
Assign heading roles that Word can recognize
Use the built-in Title style for the report name, Heading 1 for each of the four main sections, and Heading 2 for their subordinate labels. Select a heading paragraph, go to Home, and choose its intended style from the Styles gallery; expand the gallery if the style is not visible. Apply ordinary body text styling to the explanation beneath it. A larger font or bold text alone does not assign a heading role. Microsoft’s heading instructions and Southern Illinois University Edwardsville’s guide both make this structural distinction.
Work from the top down and inspect the paragraph after each assignment. Purpose should receive Heading 1, while Materials should receive Heading 2. Do not promote Materials just because you prefer a larger type size. Hierarchy describes the relationship between ideas; appearance can be adjusted separately. Likewise, do not make a main section Heading 3 because its default color looks appealing. Keeping these decisions separate is what allows an outline and a contents list to represent the document reliably when its visual design changes.
For a useful error exercise, leave Questions Raised as ordinary text but make it look similar to Activities by manually changing its font. Do not fix it yet. Write a note in your practice checklist saying that one apparent heading is structurally missing. Later, you will use the Navigation pane to locate the problem. This controlled mistake is more informative than a perfectly formatted sample because it demonstrates why a document can look consistent while its structure remains incomplete. Use only the practice copy for deliberate errors.
Review where each heading ends. The label and the explanatory paragraph beneath it should be separate paragraphs. If you styled a whole block as Heading 1, the outline may include a long paragraph rather than a short label. Undo that assignment, separate the label from its explanation, and apply the intended style only to the heading paragraph. Do not solve the problem by shortening valuable explanatory text. The repair is to identify the correct structural boundary, preserving both the label and the content that follows it.
Use the Navigation pane as a structural inspection
Open View and select Navigation Pane, or use Ctrl+F, then select the pane’s Headings view. In Word for Windows, headings styled in the main document body should appear as an outline. Click Purpose and then Preparation to move between those sections. Microsoft’s Navigation pane documentation specifically excludes headings inside tables, text boxes, headers, and footers from this outline. Keep this practice report’s structural headings in the main body so that the inspection has a clear and predictable scope.
Look for the deliberately misstyled Questions Raised label. It should be missing from the outline even though it resembles another heading on the page. Return to that paragraph and apply Heading 2. Inspect the outline again. If it appears under Session Notes, the repair has addressed both its presence and its relationship to the parent. If it appears at the same level as Session Notes, you have chosen the wrong role. Fix the style assignment instead of attempting to indent the outline manually.
Use the pane to read the skeleton of the report without being distracted by paragraph length. Collapse Preparation and expand Session Notes. Can you tell where Materials belongs? Can you identify the owner of the unresolved question? The outline cannot judge whether your prose is accurate, but it exposes duplicated labels, misplaced subsections, and unexpected levels. Treat a suspicious label as a reason to inspect its corresponding paragraph. Do not assume a visually tidy pane proves that the report’s argument or evidence is complete.
Change a style once, then inspect several places
After the hierarchy works, choose a restrained visual design. On Home, right-click Heading 1 in the Styles gallery and select Modify. Adjust its font, size, color, or paragraph settings, then keep the change scoped to this document. Microsoft’s style documentation distinguishes changes for the current document from changes affecting new documents based on the template. For this exercise, leave broader template behavior alone. You are designing one practice report, not redefining the appearance of every future document.
Choose a main heading that remains easy to recognize in ordinary printing and at a comfortable screen zoom. A darker color with clear contrast, modestly larger text, and sufficient surrounding space is more useful than a complicated treatment. Then inspect Purpose, Session Notes, and Next Steps. They should reflect the same style change. If only one label changed, you may have manually formatted that paragraph instead of modifying the shared style. Revisit the gallery and the paragraph’s assigned role rather than repeating the same cosmetic adjustment everywhere.
Modify Heading 2 separately so that its visual importance is clearly subordinate. For example, let it be smaller than Heading 1 while retaining enough weight to distinguish it from body text. The specific size is your choice; the relationship is the lesson. Recheck Materials beside Preparation and Activities beside Session Notes. A reader should be able to understand their relationship without having to count indentation levels or decode an elaborate color scheme. Also inspect the shortest and longest heading because wrapping may reveal cramped spacing. Before continuing, rename Preparation to Preparation and Logistics in the body, keeping its Heading 1 role.
Give body paragraphs their own consistent treatment
Body paragraphs should carry the explanation, not compete with the headings. Choose a readable body style and apply it consistently to the fictional report’s narrative paragraphs. If you modify that style, inspect several kinds of content: a short introduction, a longer explanation, and the paragraph immediately before a subsection. Do not assume that a preference chosen for a single sentence will suit several pages of prose. A report’s texture depends on how ordinary paragraphs work together, including the transitions between them.
Decide whether the report uses paragraph spacing or another deliberate convention, then avoid adding repeated empty paragraphs to create gaps. Empty paragraphs may initially look like harmless whitespace, but they become additional objects to manage during revision. In this exercise, add one extra sentence to the Purpose explanation and observe where the next section starts. If its spacing changes unpredictably, inspect the paragraph boundaries and formatting before blaming the page size. A stable text pattern should tolerate ordinary editing without requiring manual repairs after every sentence.
Use a small before-and-after comparison as a readability test. In one practice paragraph, explain that participants sorted envelopes by seed type. In the next, explain why consistent labels help the coordinator review donations later. Read both at the zoom you expect to use for normal editing. Can you follow the connection without enlarging the page? Is there enough separation to identify the second paragraph without a distracting blank band? These questions test usability more directly than selecting a font because it looks impressive in the gallery.
Keep direct emphasis limited and purposeful. A deadline or an unresolved decision may deserve emphasis within a paragraph, but bolding an entire page makes everything equally urgent. Do not use manual body formatting to imitate a subsection heading. If a paragraph introduces a distinct subject that readers should navigate to, give that subject a genuine heading. If it merely develops the current subject, keep it as body text. This is an editorial decision first; applying the correct role makes the decision visible and maintainable.
Insert an automatic contents list after the outline works
Place the cursor where the contents list should appear, normally after the report’s title material and before Purpose. Go to References, choose Table of Contents, and select an automatic option. Microsoft’s instructions distinguish an automatically generated list based on headings from a manual table containing placeholders. Choose the automatic kind for this exercise. Its purpose is to derive a map from the structure you have already assigned, so resist the temptation to type a separate list of labels and page numbers.
Compare the generated entries with your outline. Preparation and Logistics should appear as a main section, while Materials and Room Setup should appear beneath it if the chosen contents format includes Heading 2. Check whether Questions Raised now appears. An omitted entry is a diagnostic signal: inspect its assigned style and the levels included in the contents settings. Do not immediately type the missing entry into the generated list. That would conceal the cause and create text you must repair manually during the next revision.
Click through a few entries using the interaction Word presents for following document links. Verify the destination by reading the actual heading and its opening paragraph. A label may look correct while the underlying document still contains an accidental extra heading with the same words. This exercise is about the reader’s route through the report, so examine both the map and the place it takes you. If there are duplicate labels, rename them according to their subjects before deciding whether the contents formatting needs attention.
Give the contents list a quick editorial review. Would a person who has never attended the fictional workshop know where to find materials, unresolved questions, and assigned next actions? If not, improve the headings in the body, then refresh the generated list later. The contents page is an unusually efficient test of your labels because it removes the surrounding explanation. It should expose a clear sequence rather than force the reader to open every section to discover what a vague heading means.
Update the whole table after a structural revision
Now test a realistic change. Rename Questions Raised to Questions and Unresolved Decisions in the body. Add a new Heading 2 subsection called Label Review beneath Preparation and Logistics, with a short paragraph about checking that each invented seed envelope identifies its contents. Add enough original practice explanation to make the section visibly longer. These changes alter both labels and document flow. Your contents list will not necessarily reflect them until you perform an update, which is why refreshing belongs in the revision workflow.
Go to References and select Update Table. Microsoft’s documentation explains the difference between updating page numbers only and updating the entire table. Page-number-only updating does not incorporate changed heading text; updating the entire table addresses the changed entries as well as page numbers. Choose the entire table for this exercise. Then look specifically for the renamed question subsection and the new Label Review entry. A generic glance at the first line would miss the very changes this test was designed to check.
Next, insert another paragraph in Purpose without changing any headings. Update the contents again and inspect the page references alongside the actual sections. You may find that some numbers remain the same because the added text did not move those headings to a different page. That is an acceptable result. Do not force a page change just to manufacture proof. The important check is agreement between the map and the document after revision, not whether every edit produces a visibly different number.
Choose contents depth for the reader’s task
A contents page becomes less useful if it reproduces every minor label. In this workshop report, two heading levels are enough to locate the main sections and the operational details beneath them. If the report later gains several layers of technical explanation, decide whether its audience needs those deeper entries. The question is not how many levels Word can show, but how much detail helps someone find a specific answer. A short practical report often benefits from a map that fits its modest structure.
To change the presentation, open References, Table of Contents, and Custom Table of Contents. Microsoft’s customization guidance covers the number of heading levels shown, page-number alignment, and tab leaders. Choose the depth deliberately, then inspect whether each visible level is useful. If you show only one level, Materials will still be a legitimate Heading 2 in the document; it simply will not be listed at that contents depth. Do not change the document’s hierarchy merely to make an entry disappear from its contents page.
Keep the document heading styles and the contents entry styles conceptually separate. A heading is the label at the start of a section; a contents entry is the representation of that label in the map. Microsoft’s custom contents guidance describes modifying the styles used for those levels. If you change the look of the contents list, inspect its alignment and wrapped entries instead of assuming the body’s headings should change too. The two surfaces serve different reading tasks and may need different amounts of space.
Test the longest label in your sample, Questions and Unresolved Decisions. Does the contents entry wrap legibly? Can you still distinguish its page reference from its text? Then test a short entry such as Owners. A layout that looks balanced only with short labels is fragile. Choose a simple treatment that handles both cases. After any adjustment, update and inspect the generated list again. The result should remain readable without adding manual spaces, dotted text, or individually typed page numbers to imitate alignment.
Replace blank-line pagination with deliberate page breaks
A report often needs a clean transition between its opening material and its first substantive section. Decide whether Purpose should begin on a new page in this practice file. If so, place the cursor at the intended boundary and use Insert, Page Break, or the Page break option under Layout, Breaks. Microsoft’s page-break guidance separates an inserted break from the automatic flow Word uses when a page fills. A deliberate boundary remains meaningful even when the preceding contents material becomes longer or shorter.
Do not press Enter repeatedly until Purpose happens to land on another page. To see why, make a spare practice copy that uses several empty paragraphs before Purpose, then add a line to the contents area. The following section may shift because the blank paragraphs are still part of the document. Compare that behavior with the copy using an intentional break. The exercise does not require identical page counts; it asks which method expresses your intended boundary clearly enough to understand when you revisit the file later.
Use Home, Show/Hide to inspect formatting marks when you need to diagnose unexplained gaps. Microsoft’s break instructions explain that this display reveals the page break so you can select and remove it when appropriate. Inspect the boundary rather than deleting random whitespace. If you find an accidental break in the middle of Session Notes, remove that specific break in the practice copy, then review the text on both sides. A targeted repair is easier to assess than a broad cleanup that changes several layout decisions at once.
Keep section breaks out of this exercise unless the report genuinely needs a different section-level layout. A new page alone does not require you to introduce separate header behavior or another complex boundary. For a real report with landscape pages, distinct numbering schemes, or other requirements, research the relevant section controls separately. Here, the goal is simpler: use one deliberate page break where the report’s reading sequence calls for it, preserve automatic flow elsewhere, and refresh the contents after the final pagination is settled.
Keep headings with the explanation they introduce
An isolated heading at the bottom of a page makes readers search for the text it introduces. Word offers a paragraph setting for this relationship. Microsoft’s Keep text together guidance says to right-click the relevant paragraph or subheading, choose Paragraph, open Line and Page Breaks, and select Keep with next. Apply it thoughtfully to a heading in the practice report, then inspect the heading and the beginning of its explanation in the page layout. The setting addresses a relationship between adjacent paragraphs.
Build a small test around Room Setup. Add enough practice text above it that the heading approaches the bottom of a page. Observe what happens with its following paragraph. If the heading already remains with that paragraph, its style may already supply suitable behavior; do not assume you must toggle something simply because the tutorial mentions a control. Inspect the actual paragraph setting before changing it. A useful check confirms that the document behaves as intended, even when its existing defaults already produce that result.
Do not apply Keep with next indiscriminately to every paragraph. In this exercise, the intended relationship is a label staying with the explanation it introduces. If you bind many unrelated paragraphs into a chain, you make it harder to reason about why text moves. Diagnose the smallest relevant relationship first. A large gap may have several causes, including deliberate breaks or the amount of text involved. Inspect the content, its paragraph boundaries, and the setting before attempting a sweeping change across the whole document.
Distinguish an unattractive page ending from a broken report. Some whitespace is the reasonable consequence of keeping a short heading with its opening explanation. Compare the reader’s experience: can they see what the heading introduces without immediately turning a page? Do not reduce the font or remove necessary content merely to fill every corner. After a sensible local adjustment, inspect the nearby sections and update the contents. Pagination decisions should support reading, not trap you in an endless effort to make each page look mechanically identical.
Make action lists and links understandable on their own
Next Steps should help someone act, so replace a vague concluding paragraph with clearly described tasks. In the fictional example, the coordinator reviews the envelope labels, the room lead checks the sorting area, and the note taker resolves the labeling question before the next session. These are invented roles and tasks. Give each action an owner, an observable result, and a timing condition appropriate to your real project. A beautiful layout cannot compensate for an instruction that nobody can tell they have completed.
Use Word’s actual list controls for a list rather than typing decorative symbols before separate lines. Microsoft’s accessibility guidance supports built-in lists as part of a document’s structure. Choose bullets when the order does not matter and numbering when it represents a necessary sequence. For the invented workshop, sorting labels before reviewing them may be a sequence; identifying three independent responsibilities is simply a group. Read the list aloud as instructions and ask whether the visual order matches the action order you intend.
Give links descriptive text. A reference called Workshop labeling checklist tells a reader what it leads to, whereas click here depends on surrounding context. For this practice file, use only a public page that you have actually opened and checked; do not invent an external checklist or link to a private participant document. Keep the visible label honest about the destination. If a link leads to a general guidance page rather than the specific workshop’s rules, say so. The distinction protects the reader from mistaking background information for an operational requirement.
Perform a small isolation test. Read just the list item and its link label without the paragraph above. Can you identify the action and understand the reference’s purpose? If not, rewrite those elements before adding further decoration. Then verify the destination in the final copy, because the document’s presentation and the website’s content are separate things. A working hyperlink is necessary but insufficient: it should also point to the right resource for the task. Record any unresolved reference as unfinished work rather than hiding it behind a polished layout.
Use tables and pictures only when they add information
The workshop example can work without a picture. If you add one, give it a specific job, such as showing the invented arrangement of the arrival and sorting areas. Do not add a generic photograph merely to make the report longer. A diagram should help someone understand a decision that is difficult to describe in a short sentence. Make clear when it is conceptual rather than a photograph of an actual workshop. The three illustrations accompanying this article are AI-generated concepts, not Word screenshots or evidence of a physical test.
For a meaningful picture, write alternative text that communicates its relevant information or function. Microsoft’s accessibility guidance discusses alternative text for visuals and checking document accessibility. In the fictional room diagram, a useful description would explain that the arrival table is separate from the sorting area and why that separation matters to the process. Merely writing diagram or repeating a filename would leave the reader without the information the picture is supposed to convey. Also explain essential instructions in the surrounding prose so the task does not depend on visual interpretation alone.
A table may help when you need to compare repeated attributes, such as task, owner, and completion evidence. Keep this example simple, with a clear header row and no unnecessary merged or nested cells. Microsoft’s accessibility guidance favors simple data tables with identifiable headers. Fill each cell with meaningful content instead of using the table as a hidden layout grid for the entire report. If a task needs a long explanation, put that explanation in normal paragraphs and let the table provide a concise overview.
Test whether the table improves the decision. Can the fictional coordinator immediately see who reviews the labels and what counts as completion? If the cells contain several paragraphs each, a short action list may be clearer. Read the information in a straightforward row-by-row order and check that it still makes sense. Then compare it with the narrative section to eliminate contradictions. When a table says one role owns a task and the paragraph names another, the problem is editorial accuracy, not formatting. Resolve it before the final accessibility review.
Run an accessibility review, then make a human reading pass
Use Word’s Accessibility Checker before preparing the final copy, following the control available in your version. Microsoft’s accessibility documentation provides the current workflow and explains its checks. Review the reported issues individually instead of treating the presence of a checker as proof that the file is accessible. For each issue, inspect the actual element, understand its purpose, and make an appropriate correction. Then review again. An automated check is a useful inspection tool, while the clarity of the report remains an editorial responsibility.
Keep a separate human checklist focused on the example’s reading task. Are the section labels descriptive? Does the hierarchy progress logically? Are instructions understandable without relying on color alone? Can a reader identify what a linked reference contains? Are unfamiliar terms explained at the point they become necessary? These questions go beyond a simple formatting scan. A report can have perfectly consistent styles while still asking a reader to infer missing facts. Add the explanation that the task requires rather than forcing the reader to guess.
Read Purpose and Next Steps consecutively as a consistency test. If the purpose promises a process for reviewing seed labels, the final actions should actually support that process. Then inspect Session Notes for an invented observation that has accidentally been phrased as a verified fact. In your real report, distinguish what participants reported, what someone directly observed, and what remains an interpretation. Structure improves access to those statements; it cannot establish their truth. Keep unsupported claims out of the document even when they fit neatly under an attractive heading.
Ask a colleague to find one concrete item when that is practical, or simulate the task yourself in the practice file. Start from the contents page and locate the owner responsible for Label Review. Follow the route without using memory of where you typed it. If you get lost, inspect the labels and cross-references along that route. This is a modest usability exercise, not a measured accessibility certification. Its value lies in revealing a specific obstacle you can fix before someone relies on the report for actual work.
Prepare a final copy and verify what was exported
Keep the editable Word document as your working source. If the audience needs a PDF, use Word’s built-in save or export option for PDF and review the resulting file separately. Microsoft’s Office desktop guidance describes PDF output and options such as creating bookmarks from headings. It also warns that distributing a PDF does not itself guarantee that nobody can edit it. Decide which format serves your reader, and avoid presenting a PDF as a security control simply because it looks like a fixed page.
Before exporting, update the entire contents list, save the document, and review the first page, a middle page, and the ending. Then open the exported copy and repeat those checks. Inspect a long contents entry, the boundary before Purpose, a heading near a page ending, and the action list. If you included a table or diagram, inspect that too. The point is to compare the deliverable with the source you intended to distribute, rather than assume that a successful Save action proves that every reader-facing element survived.
Check links in the output you will actually share. Confirm that a contents entry leads to the intended section when that interaction is available, and open each important external reference. Read the destination’s title and purpose instead of checking only whether a browser opens. If the PDF uses heading-derived bookmarks, inspect their labels and order as another view of the structure. Missing or confusing bookmarks may expose the same hierarchy problem you saw earlier in the Navigation pane, but verify the particular output rather than assuming the two views are identical.
Name the final copy so it cannot easily be confused with the editable practice source or an earlier draft. A clear report name plus a real version date is more useful than a sequence of files called final, final2, and final-new. Do not overwrite the only editable source while experimenting with output settings. After a correction, regenerate the final copy and review the changed element again. The document you distribute should be the one that passed your checks, not the earlier export that happened to remain open on the screen.
Turn the checked report into a reusable starting point
Once the sample survives the revision tests, decide whether you need a template. A one-off report can remain a normal document. If you repeatedly produce reports with the same structure, a template can preserve the useful styles and section framework while letting each new report carry its own content. Microsoft’s template instructions describe saving a Word Template and creating new documents from the personal or custom template area. Use an ordinary template without introducing macros for this exercise; nothing in the report requires executable behavior.
Prepare a clean template copy rather than using the fictional report unchanged. Replace invented session notes with prompts that explain what the next author should supply, such as Describe the decisions made and identify unresolved questions. Remove fictional owners and any example date that could be mistaken for a real deadline. Keep the useful heading hierarchy and the contents mechanism. This cleanup is a content review, not just a Save As operation. A reusable file that carries plausible but false details creates avoidable mistakes for its next author.
Save the clean copy using the Word Template file type, commonly .dotx, through the desktop Save As workflow. Microsoft’s instructions place personal templates in the Custom Office Templates location and describe creating a new file through File, New, Personal or Custom. Labels and organization may vary with your installation. Give the template a descriptive name that explains its purpose, such as Workshop Report Structure. Do not change the global Normal template or broad application settings to make this particular report reusable.
Create a new document from that template as a final practical test. Confirm that you are editing a new report rather than the template itself. Change one main heading, add one subsection, and refresh the contents list. Replace the template prompts with actual information for the new report before sharing it. If a prompt remains in the final copy, treat it as unfinished content. A template is a maintained starting point, and its success depends on making both the structure and the remaining author responsibilities unmistakable.

Diagnose the symptom before making a broad repair
When something goes wrong, begin with the smallest visible symptom. If a heading is missing from the Navigation pane, inspect its actual style and whether it is in the main document body. If it appears in navigation but not in the contents list, inspect the contents depth and update behavior. If the label is present but outdated, update the entire table after verifying the body text. These distinctions help you choose a repair that addresses the cause rather than changing several unrelated parts of the report at once.
If one heading looks different from its peers, compare its assigned role and direct formatting with a correctly styled heading. The SIUE guide, updated April 17, 2025, identifies manual formatting layered on top of styles as a troubleshooting issue. Its broader hierarchy examples should be adapted to your document’s design: in this report the Title style names the report and Heading 1 identifies the main sections. Use the shared structural principle, then inspect the specific role your report assigns. Do not follow a role label mechanically without checking its meaning in context.
If a large blank area appears, display formatting marks and inspect the nearby paragraph and break boundaries. Look for the deliberate page break you inserted, an accidental extra break, or a relationship that keeps a heading with following text. Avoid repeatedly deleting paragraph marks until the gap disappears; that can join text that should remain separate. Make one targeted change in the practice copy and inspect the local result. If it does not solve the symptom, undo it before testing a different explanation.
Finish with three revision tests and a clear handoff
Run the three tests promised at the beginning. First, rename a heading in the practice copy and confirm the outline and refreshed contents agree with it. Second, add enough meaningful explanation to one section that its length changes, then check nearby pagination and contents references. Third, add a new subordinate section in the correct role and confirm that it appears where the document hierarchy says it belongs. Restore your intended final wording afterward. The goal is to demonstrate that the report can withstand ordinary editing, not to leave experimental changes in a real deliverable.
Read the report from beginning to end after the structural checks. Follow its actual argument: purpose, preparation, session record, next actions. Confirm that invented practice details remain labeled as such and that real reports have evidence for their factual statements. Verify the final date, responsible roles, and destinations of important links. Check any diagram against the prose and any action table against the concluding instructions. These are different inspections from the style tests, and a report is ready only when both its structure and its content are dependable.
Give the next editor a concise handoff note: use the built-in heading roles, revise shared styles deliberately, refresh the entire contents table after structural changes, and check the final exported copy. Identify which file is the editable source and which is the reviewed output. If the report contains unresolved questions, make them visible in the appropriate section rather than silently presenting assumptions as decisions. A document becomes easier to maintain when the next person knows how its structure works and what still needs a real answer.
The finished result is a report whose appearance follows its meaning and whose map follows its structure. It does not depend on carefully placed empty lines or a separately typed contents list surviving every revision. More importantly, it gives you a repeatable inspection process: verify roles, test changes, review the generated map, inspect the final copy, and read the content for accuracy. That process is useful well beyond this fictional workshop. The next report can start with the same clear framework while telling an entirely different, properly supported story.