

Buttermilk Soda Bread: A Measured Method from Dough to the Last Slice

Reviews & Guides · Recipes · Baking
Buttermilk Soda Bread: A Measured Method from Dough to the Last Slice
A clear whole-wheat buttermilk loaf: measured ingredients, brief mixing, a checked center and a practical plan for the last slice.
By OnelROR Editorial Team · October 10, 2026 · Miami, EDT · 23-minute read
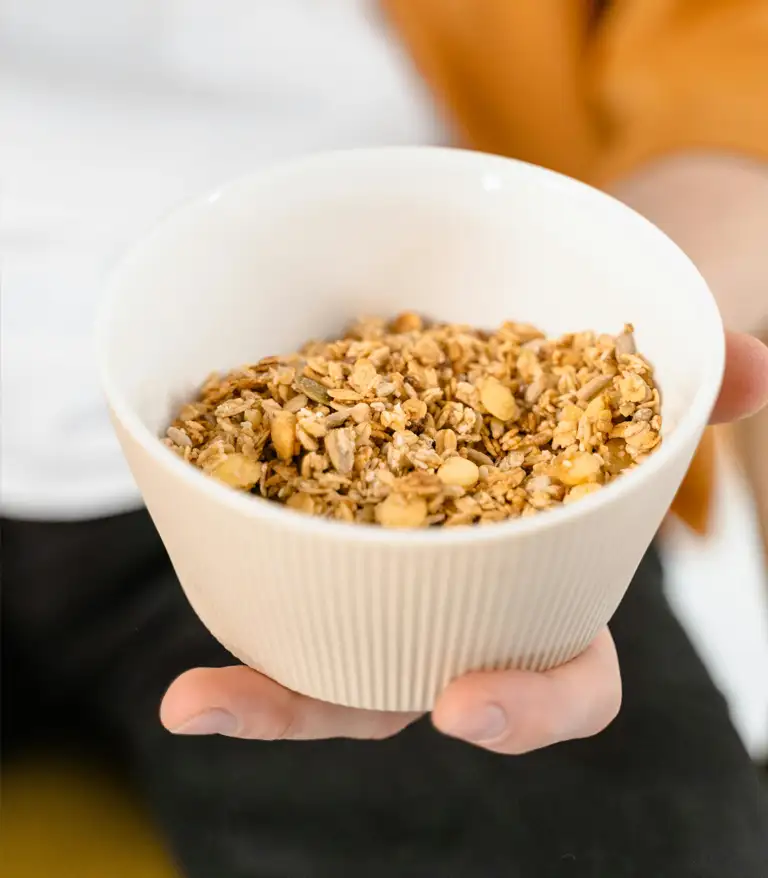
Opening archive photograph: © O’Dea, April 14, 2009, Wikimedia Commons, CC BY-SA 4.0. Resized; no other edits. It shows a different seeded brown soda bread, not this raisin recipe or an OnelROR cooking test.
The recipe at a glance
One round loaf • Conventional oven 400°F / approximately 205°C • Published bake window 45–55 minutes, plus cooling.
- 254 g ordinary whole-wheat flour (2¼ US cups, editorial conversion using 113 g per cup)
- 150 g all-purpose flour (1¼ US cups)
- 37 g granulated sugar (3 tablespoons)
- 1 level teaspoon baking soda
- ¾ teaspoon table salt
- 99 g raisins (⅔ cup), or the source’s 95 g currant option
- 57 g cold butter (4 tablespoons), cut into pieces
- 302 g cultured buttermilk (1⅓ US cups), plus 1–2 tablespoons only if needed
- 1 large egg
- Optional: 28 g melted butter (2 tablespoons) for finishing
- Preheat; lightly grease an 8- or 9-inch round cake pan.
- Combine flour, sugar, soda, salt and fruit. Distribute cold butter until no large pieces remain.
- Whisk egg with buttermilk; combine with dry ingredients. If too crumbly to cohere, add the limited extra buttermilk by the tablespoon.
- Gather with minimal handling, shape a round and flatten slightly. Put in the pan; cut a ½-inch-deep cross.
- Bake within the published window, checking for a golden surface and a clean center tester. Continue if wet dough remains.
- Apply optional finishing butter, cool on a rack, then cut. Wrap cooled bread; follow storage guidance below.
Adapted from King Arthur Baking’s published ordinary whole-wheat variation. Not personally tested by OnelROR. Wheat, dairy and egg are present.
A bread you can start without a starter
Soda bread is useful when you want to bake a loaf without keeping a starter, waiting for yeast to wake up or organizing several rounds of rising. Its speed comes with a different set of decisions. Measure before mixing, prepare the oven first and recognize the rough dough you are trying to make. Those choices matter more here than the long kneading that belongs to another kind of bread.
This is a lightly sweetened, whole-wheat buttermilk loaf with butter, egg and raisins. It is intended for wedges or substantial slices alongside breakfast or a simple meal. Expect a close crumb and a rugged crust rather than the stretch and open holes of a fermented artisan loaf. A small change in flour or handling can change that texture, so the guide keeps one formula visible throughout.
The quantities and core baking sequence are adapted from the ordinary whole-wheat variation published with King Arthur Baking’s Irish Soda Bread, updated March 13, 2023. The weighing conversion is explained below. OnelROR has not personally tested this recipe. The surrounding guidance is an editorial explanation of how to follow the published method, recognize uncertainties and decide when a different recipe would serve you better.
Read the compact recipe first if you are ready to cook; return to the explanations when a particular step raises a question. The longer discussion covers measuring, mixing, shaping, doneness, cooling, limited substitutions and using the bread after the first meal. It does not require buying a named flour brand, and it does not promise that a photographic example is what your kitchen will produce.
Keep one formula on the counter
The baseline uses ordinary whole-wheat flour and all-purpose flour, both without added leavening. Keep the two quantities separate when measuring. The published variation reduces the whole-wheat volume to two and a quarter cups and replaces the original bread flour with all-purpose flour. That is a paired change. Using the larger specialty-flour quantity with a different white flour would no longer follow the stated variation.
The whole-wheat weight in the recipe card is an editorial conversion: two and a quarter multiplied by the chart’s 113 grams per cup gives 254.25 grams, rounded to 254. The all-purpose portion is 150 grams. These numbers identify this particular version; they are not a universal declaration about what every cup of every flour must weigh. Follow grams consistently if you have a reliable scale.
Use the listed granulated sugar, cold butter, cultured buttermilk, large egg and raisins for the first loaf. Leave optional melted finishing butter out if you want a simpler finish. Do not quietly change the flour blend, omit several ingredients and add a handful of wet fruit while expecting the published timing to remain a complete guide. Each change alters the dough in a different way.
Put a short written ingredient list beside the bowls, especially when reading on a phone. Mark ingredients as they enter the mixture. A cook interrupted halfway through the dry ingredients should be able to see whether the soda and salt were already added. That is more dependable than trying to recognize a teaspoon of white powder after it has disappeared into several hundred grams of flour.
Understand the loaf before choosing the occasion
A dense, tender loaf can be a good companion to soup, butter or a little jam. It is less suited to occasions where everyone expects thin, flexible sandwich bread. The useful question is what you want the bread to do at the table. Choose a wedge when a generous piece should hold its shape; choose a cooled slice when a flatter surface matters for a spread.
This enriched recipe is not being presented as the traditional four-ingredient loaf. Butter, egg, sugar and dried fruit are visible choices, not ingredients to hide behind an authenticity claim. King Arthur distinguishes simpler wholemeal soda bread from sweeter American versions. That context explains why two breads with the same general name can look and taste different without either photograph proving the other recipe wrong.
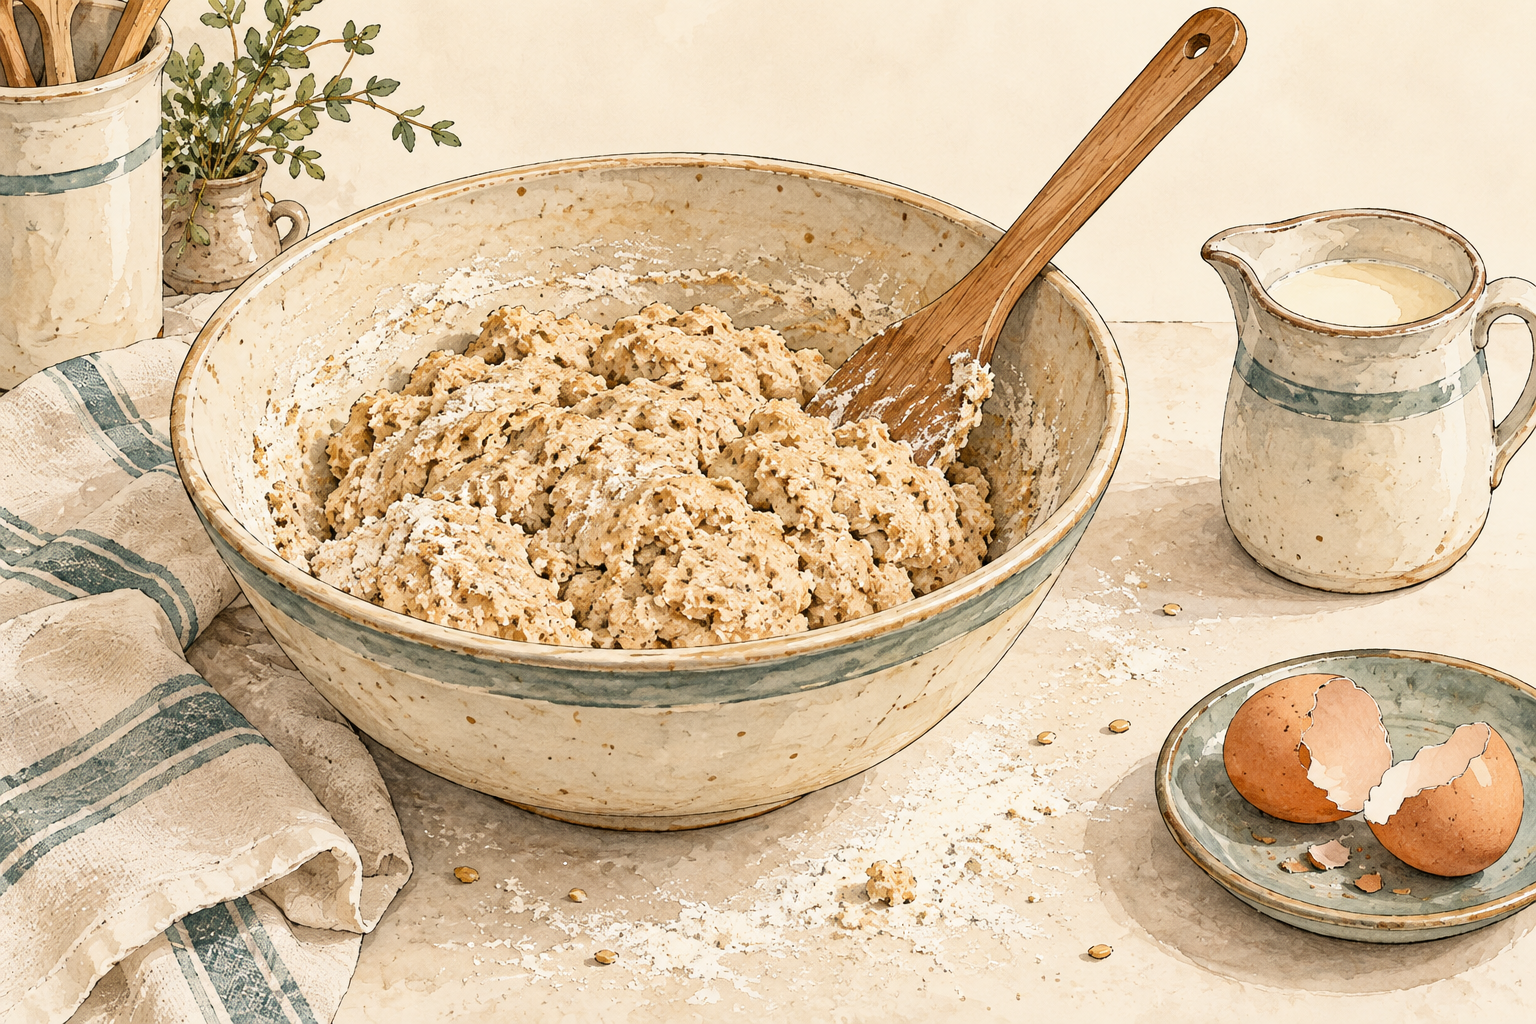
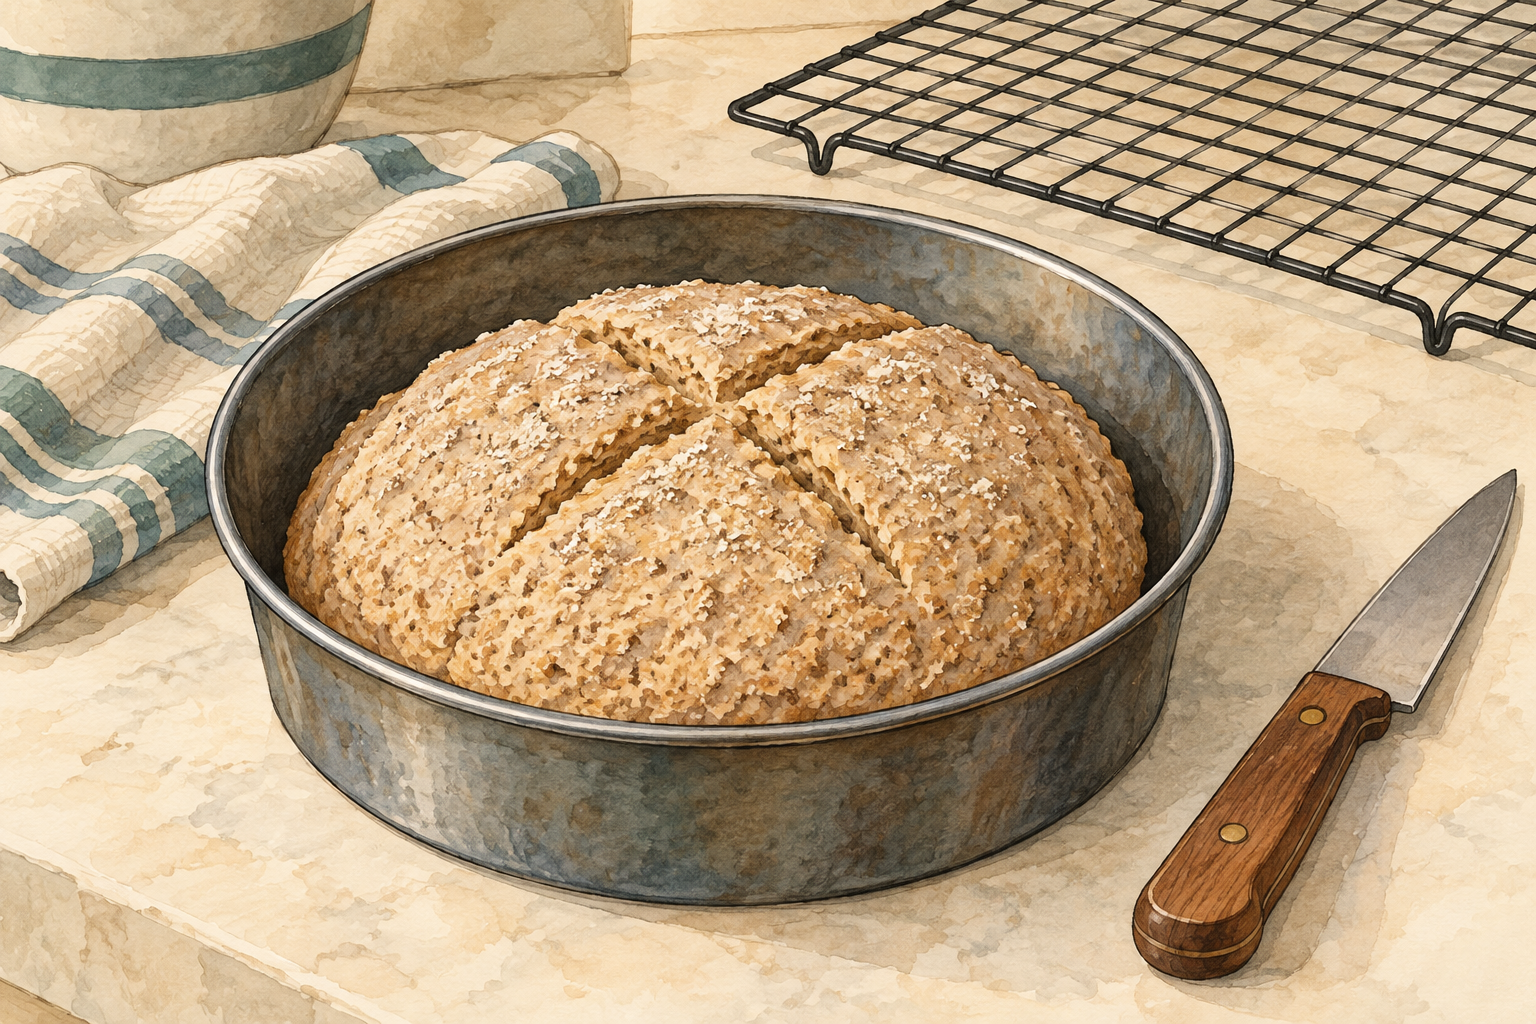
The opening photograph shows another baker’s seeded brown soda bread, photographed in 2009. It provides a real example of a close crumb and substantial slice, not evidence of an OnelROR cooking test or a precise preview of this raisin loaf. The two drawn process images are conceptual illustrations. Use the written quantities and instructions to make decisions rather than trying to reproduce every detail in an image.
For meal planning, think in portions rather than a promised number of servings. A loaf cut into eight wedges supplies eight large pieces; the same loaf divided into twelve portions supplies smaller ones. These are cutting plans, not nutritional analyses. How many people it feeds depends on what else is served, their appetites and whether the bread is the main food or an accompaniment.
Measure flour without packing the cup
Place the scale on a stable surface and use its gram setting. Add an empty bowl, tare to zero, then weigh one flour. Tare again before the other if you are confident about cumulative measuring, or weigh into separate containers if that is easier to check. Do not balance a bowl on the edge of a crowded countertop while trying to read a moving display.
Separate containers have a practical advantage when you overshoot. You can remove excess flour before it becomes mixed with another ingredient. With cumulative weighing, removing a blended scoop may alter the proportions. Neither system is inherently more serious or skilled. Choose the arrangement that allows you to correct a mistake before the wet ingredients enter and makes the displayed number easy to associate with the right flour.
If using cups, use dry measuring cups and a light filling method rather than digging the cup into the bag and compressing it. King Arthur’s measuring guidance describes fluffing, sprinkling and leveling. Be attentive to the whole-wheat conversion in this version rather than using the all-purpose reference for both flours. Volume is a convenient alternative, but the way a cup is filled affects what goes into the bowl.
Keep a separate small amount of flour available for the work surface if needed, without treating it as permission to work an unlimited extra quantity into the dough. A light dusting serves a different purpose from increasing the formula. If the dough becomes stiff because substantial flour was added during shaping, a later note saying the ingredients were weighed accurately will not describe everything that happened.
Choose the flour named in this version
Ordinary whole-wheat flour brings a different appearance and texture from all-purpose flour. Use a product intended for baking and check that the package says whole wheat, not a prepared baking mix. Whole-wheat pastry flour, rye flour and an oat-based blend are different ingredients. A familiar brown color on the package is not enough to establish that a flour can be swapped into the same quantity.
All-purpose flour is the white-flour choice in this variation. Do not substitute self-rising flour and then add the full measured soda and salt as though nothing has changed. Self-rising flour includes other ingredients, and their quantities may vary by product. If it is the only flour you have, find a recipe built for it rather than attempting to subtract unknown leavening from a formula on the fly.
The source’s specialty Irish-style flour has a coarser texture and different baking characteristics from ordinary whole wheat. Martin Philip’s March 7, 2023 explanation discusses that distinction. The choice here deliberately uses the published ordinary-flour variation, so a reader can make one clearly identified loaf. It does not claim that reducing one flour quantity makes the two flours identical in every respect.
Check stored flour before starting. Follow the package’s storage guidance and discard a product that has spoiled or shows infestation. Do not try to cover an off smell with raisins or extra sugar. When a bag has been transferred to another container, keep its name and relevant package information with it. Otherwise a later scoop of unidentified flour can turn a simple recipe into an avoidable experiment.
Treat soda and buttermilk as a pair
Baking soda is the leavener in this loaf. It is not baking powder, and it is not yeast. The cultured buttermilk provides acidity as well as liquid. That pairing is why this dough has a different timetable from a yeasted loaf. There is no scheduled proofing stage to complete after mixing; the oven should already be ready when the dough comes together.
Measure the teaspoon of soda level rather than heaping it. More leavener is not a dependable way to make the bread lighter. It changes the balance of the formula and can leave an unpleasant flavor. Distribute it thoroughly through the dry ingredients before liquid is added, because a concentrated pocket cannot be corrected reliably by kneading the finished dough harder.
Use commercial cultured buttermilk for the baseline and check the product label. Shake or stir according to the package so the liquid you measure is consistent. Keep it refrigerated while the rest of the preparation is arranged. A carton that happens to be thick and white is not necessarily equivalent to buttermilk; drinkable yogurt, cream and a sweetened dairy beverage have different compositions.
A milk-and-acid substitute is common in baking discussions, but this article does not attach an unverified substitute ratio to this particular loaf. If you do not have the specified liquid, use the recipe publisher’s suitable guidance or choose another complete recipe. That keeps the ingredient change and the revised method together, instead of asking the dough to compensate for a guess after mixing has already begun.
Prepare the kitchen before opening the wet ingredients
Set out a large mixing bowl, a smaller bowl or jug, a sturdy mixing tool, dry and liquid measures, a knife, a round cake pan and a cooling rack. A scale is helpful but not mandatory. Place the pan where the shaped dough can reach it without crossing a pile of utensils. Keep a clear destination for the hot pan, because finding space while holding it is an unnecessary hazard.
The published method uses an eight- or nine-inch round cake pan. Choose one of those sizes for the first attempt and grease it lightly before mixing. A narrow loaf tin, deep casserole or very wide roasting tray changes the dough’s shape and exposure to heat. Do not choose a vessel simply because the raw mixture fits inside; fitting and baking evenly are different questions.
Arrange the oven rack before preheating. Use a position that allows the loaf and pan to fit without touching the heating element, following your oven’s instructions. Set the conventional oven to 400 degrees Fahrenheit, approximately 205 degrees Celsius. This is the baseline setting, not an automatic instruction for every convection mode. If the appliance converts temperatures itself, avoid applying a second conversion.
Give a new baker enough space to read and work without rushing. The published hands-on time is a guide to an experienced sequence, not a deadline that justifies skipping measurement or cleaning. Prepare ingredients while the oven heats, then combine them when everything is ready. If the phone locks, a written recipe card should keep the essential measurements and next step available.
Keep raw dough away from ready-to-eat food
Flour deserves the same deliberate handling as other raw ingredients. FDA’s Flour Is a Raw Food and Other Safety Facts explains that ordinary processing does not necessarily eliminate bacteria. Do not taste the flour, lick the mixing spoon or let children use this dough as play material. An egg-free variation would not make raw flour safe to eat; the flour needs proper cooking too.
Wash hands before preparing the ingredients and after handling raw egg or dough. Clean the bowl, tools and surface that contacted the raw mixture before using them for cooked bread. FDA’s Safe Food Handling guidance recommends soap and water and separates raw ingredients from ready-to-eat foods. A wiped counter that still holds raw flour is not a clean bread-cutting surface merely because it looks tidy.
Keep the egg and buttermilk refrigerated until preparation requires them, and return unused dairy promptly. The FDA egg guidance specifies refrigeration at 40 degrees Fahrenheit or below. Do not leave ingredients beside a hot oven through an unrelated kitchen task. If there is an uncertainty about how a perishable ingredient was stored, resolve it before adding that ingredient to the entire bowl.
Use a clean board and knife for serving. A board dusted with flour during shaping should be washed before cooled bread is placed on it. This makes a simple workflow boundary: the raw mixing area gets cleaned while the loaf bakes, and the serving area starts fresh. It also prevents scraps of raw mixture from being mistaken for crumbs when you put finished portions away.
Distribute the butter without making pastry
Keep the measured butter cold and cut it into small pieces before working it through the dry mixture. The source method seeks even distribution without large chunks. This is not a laminated pastry lesson and does not ask for layers of butter to remain intact. Use a pastry tool, fork or clean fingertips according to what you can handle comfortably.
With fingers, work quickly enough that the butter does not become a greasy pool, but do not turn speed into rough handling. With a fork, move around the bowl and check the edges as well as the center. A large piece can hide under loose flour at the bottom. Stop to inspect instead of assuming that a certain number of motions guarantees that every piece has been incorporated.
If you have weighed the butter after cutting it, check that the full quantity leaves the plate and enters the bowl. Small pieces stuck to a wrapper are easy to overlook. The same principle applies to sugar and dried fruit: measuring an ingredient is only one part of adding it. A correct number on the scale does not establish that the measured portion reached the dough.
This version also permits melted butter as an optional finish after baking. Keep that portion separate from the cold butter used in the dough. Do not add both portions during mixing because they share the same ingredient name. A useful prep note labels them dough butter and optional finishing butter, making the distinction visible when another person helps or the cooking sequence is interrupted.
Build the dry mixture and check the small ingredients
Combine the two measured flours with the sugar, soda, table salt and raisins before adding the butter and liquid. Use a sufficiently large bowl to move the ingredients around without spilling them. Reach into the bottom and along the sides. The aim is a consistent dry mixture rather than a pale layer on top concealing a different mixture underneath.
Use table salt for the three-quarter-teaspoon volume in the recipe. Coarse and fine salts do not necessarily weigh the same for a given spoonful. If you prefer another salt, use verified conversion guidance appropriate to that product rather than declaring every teaspoon equivalent. This recipe keeps the specified salt so that a reader does not have to solve an extra conversion while measuring the leavener.
Separate clumped raisins before they enter the mixture, and look for any unwanted stems or debris. The baseline uses the stated dried-fruit quantity, not soaked fruit weighed after absorbing extra liquid. If the fruit comes in a sweetened or flavored blend, read the label before assuming it is the same ingredient. Keeping the first loaf simple makes its texture easier to interpret later.
Before moving on, glance at the short ingredient list. The soda and salt should each be present once. If you cannot establish whether an ingredient was added, do not rely on tasting the raw mixture. Starting a checked dry mixture again can be more sensible than doubling a small ingredient in uncertainty. A mistaken extra teaspoon of soda is difficult to remove after it has been dispersed.
Combine the liquid before it reaches the flour
Measure the buttermilk in the way that matches your chosen system. With a scale, tare the jug and weigh 302 grams. With a liquid cup, read the one-and-a-third-cup quantity at eye level on a level surface. Do not infer the fill line from a sloping jug held above the bowl. Small handling choices can turn an apparently exact measurement into a less consistent one.
Crack the large egg into a separate clean container so a shell fragment or unsuitable egg can be dealt with before it reaches the buttermilk. Then whisk the egg and buttermilk together. The liquid should be mixed enough that adding it does not send one pocket of yolk into one area and mostly buttermilk into another. This is combining, not a demand for a large foam.
Keep a tablespoon measure ready for the limited extra buttermilk described by the source. It is a contingency for dough that is too crumbly to hold together, not an invitation to pour until it resembles batter. Having a measure nearby allows a small deliberate correction. Having only an open carton in hand makes it easier to overshoot while reacting to the first dry patch.
Check the oven and prepared pan before pouring the wet mixture into the dry one. This is the convenient last moment to finish setup without holding activated dough. Once the liquid meets the dry ingredients, concentrate on combining and shaping. A missing pan, an unheated oven or a long search for the knife can all be addressed more easily while the two mixtures are still separate.
Bring the dough together with short, deliberate movements
Add the combined liquid to the dry mixture and draw the ingredients together with the mixing tool. Move through the center and around the edges, folding loose flour toward the damp mass. Look for isolated dry pockets instead of simply stirring the surface. A rough, stiff mixture is expected in this formula; it does not need to become a smooth, pourable batter to be ready for shaping.
Stop and assess whether the mixture can hold together when gently compressed. The source permits another tablespoon or two of buttermilk if it is too crumbly. Add a measured small amount, incorporate it briefly and assess again. Avoid alternating large additions of liquid and flour. That loop can move the dough far from its starting proportions without resolving why it was difficult to combine.
Use only enough additional handling to gather the dough. Long kneading belongs to a different breadmaking goal. A few compressions or folds that remove a dry seam are more useful than working until the surface looks like a polished yeast dough. If the mixture is difficult to handle, first check the measurements and ingredient choices rather than assuming that muscle and time are the missing ingredients.
Scrape the bowl thoroughly so loose pieces do not get left behind merely because the main mass has formed. Bring them into the dough without repeatedly smearing the mixture across the counter. The useful endpoint is one cohesive piece that can be placed in the prepared pan. It can remain textured and uneven; making it visually immaculate is less important than keeping the handling modest.
Shape a modest round and cut a clear cross
Gather the dough into one round, then flatten it slightly before placing it in the pan. Keep the shape broad enough to resemble a loaf rather than a tall ball. A high mound asks heat to reach a different distance at the center. The source method is designed around its round, lightly flattened shape; copying only the oven setting while changing the geometry loses part of that method.
Use the knife to make the stated half-inch-deep cross, approximately 1.3 centimeters, in the top. Keep the loaf steady without putting fingers in the blade’s path. The aim is a deliberate cross rather than many decorative slashes. Place the knife safely away afterward. If cutting feels awkward, take a moment to reposition the pan on a stable surface instead of trying to finish the cut while holding it.
Do not press the loaf down again after cutting merely to make the surface level. Keep the prepared shape intact as it enters the oven. Check that any loose dough pieces have joined the loaf and that the pan’s sides are clear enough to handle. The cross is part of the preparation, but it cannot compensate for incorrect ingredients, excessive height or an oven that has not heated.
A first loaf does not need elaborate surface decoration. Seeds and oats in a reference photograph may belong to a different formula. Adding them because they look attractive changes the version you are evaluating. Let the basic appearance come from the shaped dough and cross. Once you understand a complete published recipe, another complete seeded version can be a deliberate next bake rather than an unrecorded addition.
Bake by the recipe, then observe the actual oven
Place the pan in the preheated conventional oven and set a timer that reminds you to begin checking within the published 45-to-55-minute baking window. Keep the oven setting visible so someone else does not lower it for an unrelated dish. A timer is a prompt to inspect, not a signal that every loaf will be ready at exactly the same minute regardless of dough, pan and appliance.
Avoid repeatedly opening the door early to watch the cross expand. Use the oven window if there is one. Opening the oven changes the baking conditions and also brings a cook close to hot air and surfaces. Plan the first check, put dry oven gloves nearby and use the same safe place for the pan whenever it comes out for inspection.
Keep a distinction between the displayed setting and evidence about the bread. The oven says what it has been asked to do; the loaf shows how baking is progressing. If the results consistently differ from the recipe’s window, review the appliance instructions and consider whether the oven’s temperature should be checked. Do not casually rewrite the recipe around one unexpectedly slow bake without checking the setup.
If the outside colors strongly before the center appears ready, assess the loaf and oven rather than serving it solely for its appearance. A loose foil cover can protect a browning surface during further baking if used safely and kept clear of heating elements. It does not cook the center by itself. Continue the appropriate baking checks and note the conditions for a later attempt.
Distinguish a browned crust from a finished center
The source’s doneness checks are a golden surface and a clean cake tester or toothpick inserted into the center. Use those together with the specified method, rather than replacing them with a single attractive photograph. Look for wet dough on the tester. If the tip hit a raisin, choose another nearby point so a piece of fruit does not become the only evidence you examine.
The bottom can provide an additional texture clue when handled safely, but a hollow sound is not a universal measurement of food safety. Margaret Hickey’s different soda-bread recipe uses that cue alongside its own shaping and baking directions. This article retains the primary recipe’s center check rather than blending the two recipes into one new method. A comparison should clarify differences, not erase them.
A thermometer may give useful information about a loaf, but this formula’s source does not supply an internal bread-temperature target. This guide therefore does not invent one or treat the minimum temperature for an egg casserole as proof that a bread’s starch and crumb have finished baking. Food-safety minima and a particular bread’s finished texture answer related but different questions.
When the center still shows wet dough, continue baking and check again rather than deciding that a dense loaf is supposed to be raw inside. Handle the hot pan with dry protective gloves and return it carefully to the oven. If something has gone seriously wrong with the ingredients or equipment, do not serve a questionable loaf just because the exterior has become dark.
Cool before asking the crumb to support a knife
Move the finished loaf to a cooling rack with care so air can circulate around it. If applying the optional melted butter, keep the hot-pan handling and brushing movements separate. Do not carry an awkward pan with one hand while trying to brush with the other. Arrange the cooling area away from the raw mixing tools and from an edge where the bread could be knocked off.
Give the loaf time to cool before slicing for an assessment of its crumb. Cutting into hot bread can make the interior seem wetter and compress a slice under the knife. This recipe does not promise a precise cooling minute because the loaf, room and serving plan differ. Wait until the bread is comfortably manageable and firmer to cut rather than racing from the oven to a photograph.
Use a serrated knife and a stable clean board. A sawing motion with modest pressure is usually easier to control through a rugged crust than forcing a straight blade downward. Keep fingers away from the cutting path, especially when making wedges from the round. If a portion crumbles, reduce the pressure and reconsider its thickness instead of holding it closer to the blade for support.
Inspect the first cut in context. A close crumb is part of the bread’s intended character, but gummy wet dough is a different observation. A firm slice cut after cooling gives more useful information than a torn hot center. Keep a simple note about whether the loaf cooled before cutting, because that detail matters when comparing one attempt with another and deciding whether a baking adjustment is justified.
Choose substitutions by choosing a complete recipe
For this first loaf, the most useful substitution decision is often to postpone it. The recipe has already made one explicit flour variation. Further changes to milk, egg, fat and flour need their own reasoning. A dairy-free loaf, an egg-free loaf and a gluten-free loaf are different projects, even if all of them can be called soda bread. Pick a complete published version that addresses the requirement.
The raisins can be replaced by the source’s stated currant option, using its own listed weight rather than assuming equal volumes always produce equal weights. That is a defined alternative. Fresh berries, chopped apple and a wet fruit preserve are not the same substitution. Their water and distribution differ from dried fruit. A suitable fruit-bread recipe should carry its own quantities and handling instructions.
For an allergy or dietary restriction, read the ingredient packages and check what else has used the tools and work surface. This baseline contains wheat, dairy and egg. Removing one ingredient does not establish that the result is appropriate for someone avoiding it, especially when other ingredients or shared equipment remain relevant. Ask the person being served what they require instead of assuming that a modest substitution is sufficient.
The Good Food comparison is an egg-free loaf with oats and a different ratio of flour to buttermilk, published in February 2003. It is a useful example of why alternatives come as whole formulas. Its baking time and dough shape belong to that loaf. Follow it as its own recipe if it better meets your needs; do not borrow only its omission of egg while leaving every other quantity unchanged.
Use a disappointing loaf to identify a specific change
If the dough felt very dry, look back at the measured flour, liquid and any dusting flour before changing the oven. An extra-heavy cup, a forgotten wet ingredient or substantial flour worked in during shaping can produce different problems from underbaking. The correction for a future loaf should address the suspected cause. Raising the oven temperature cannot restore liquid that never entered the mixture.
If the center is gummy while the exterior is well browned, review the loaf’s height, the pan, baking time and cooling before slicing. Several explanations remain possible, so do not assign one cause from appearance alone. Ask whether the dough followed the formula and whether the center check was actually completed. Keep rawness separate from the ordinary density expected in a whole-wheat quick bread.
If the loaf crumbles excessively, review both handling and the stage at which it was cut. A hot loaf, an extremely thin slice and a dough that never cohered do not ask for identical changes. Try an appropriately cooled, thicker portion before deciding the entire recipe needs more fat. Check one meaningful factor at a time so a better result can be connected to what actually changed.
If there is an unexpectedly harsh or soapy taste, do not taste more raw dough to investigate it. Review the soda measurement and distribution, liquid choice and possibility of an ingredient being added twice. A finished loaf that is unpleasant or questionable need not be rescued into another dish. A small failed batch can provide a useful note without becoming a reason to consume something you do not trust.
Wrap a cooled loaf and freeze what will not be used
Let the bread cool before enclosing it for storage. Warm bread in a tight wrapper can collect moisture, which changes the crust and makes a slice harder to assess later. Keep the cooled loaf covered in a clean container or wrapper suitable for food. This step protects it from the raw preparation area as well as from drying while the kitchen is being cleared.
King Arthur gives about two days, well wrapped at room temperature, for this baked bread and up to about a month frozen. Treat that as its recipe-specific storage guidance, not a promise that every kitchen condition or every added topping is equivalent. If the room is unusually hot or humid, plan to freeze portions promptly rather than trying to maximize time on the counter.
Portion the cooled bread before freezing if you want to retrieve only what one meal requires. Separate slices or wedges with suitable food-safe material if needed to keep them from becoming one block. Label the package with the bread and the freezing date. A label helps distinguish this raisin loaf from a savory one and makes the intended storage period visible without relying on memory.
Inspect stored bread before serving and discard a moldy loaf rather than trimming the visible spot and treating the rest as dependable. Do not use toast to conceal spoilage. Keep the storage plan for plain baked bread separate from the plan for perishable spreads or fillings. A slice with egg, meat or a dairy-based topping must follow the handling requirements of that added food as well.
Make the next meal easier without making a second recipe
Serve only the pieces you expect to use immediately and keep the remaining cooled bread wrapped. Offer butter or jam separately so people can choose their own amount and plain portions remain available for later. This also keeps a shared serving plate from becoming the storage container for slices with mixed toppings. A simple meal can stay flexible without changing anything about the dough.
For breakfast, a substantial slice can be toasted according to the appliance’s instructions, watching a fruit-filled bread carefully because exposed raisins can darken quickly. Keep a slice within the toaster’s size limits and never force an awkward wedge into it. Use another suitable appliance or cut a manageable portion. The convenience of reheating should not create a new equipment problem after the bread has baked successfully.
For a packed meal, distinguish the bread from whatever accompanies it. Plain bread does not make a perishable filling safe at room temperature. Use the storage and transport guidance appropriate to the filling, and keep separate components separate when that makes handling simpler. The same loaf can support several meals, but its versatility does not erase the food-safety requirements of the other ingredients on the plate.
For the next bake, retain a short note with the flour types, measuring method, pan size, oven mode, baking duration and how the cooled crumb behaved. You do not need to document every movement. Those few details are enough to make one deliberate adjustment or choose another complete recipe. The useful result is a repeatable sequence: prepare, measure, combine briefly, shape, bake thoroughly, cool and portion with a clear plan.