


Record, Edit and Export Your Own Voice With Audacity 4
Tutorials · Audio
Record, Edit and Export Your Own Voice With Audacity 4
A short instruction is a manageable first recording. Test the microphone, make careful cuts, then check the audio file someone else will actually play.
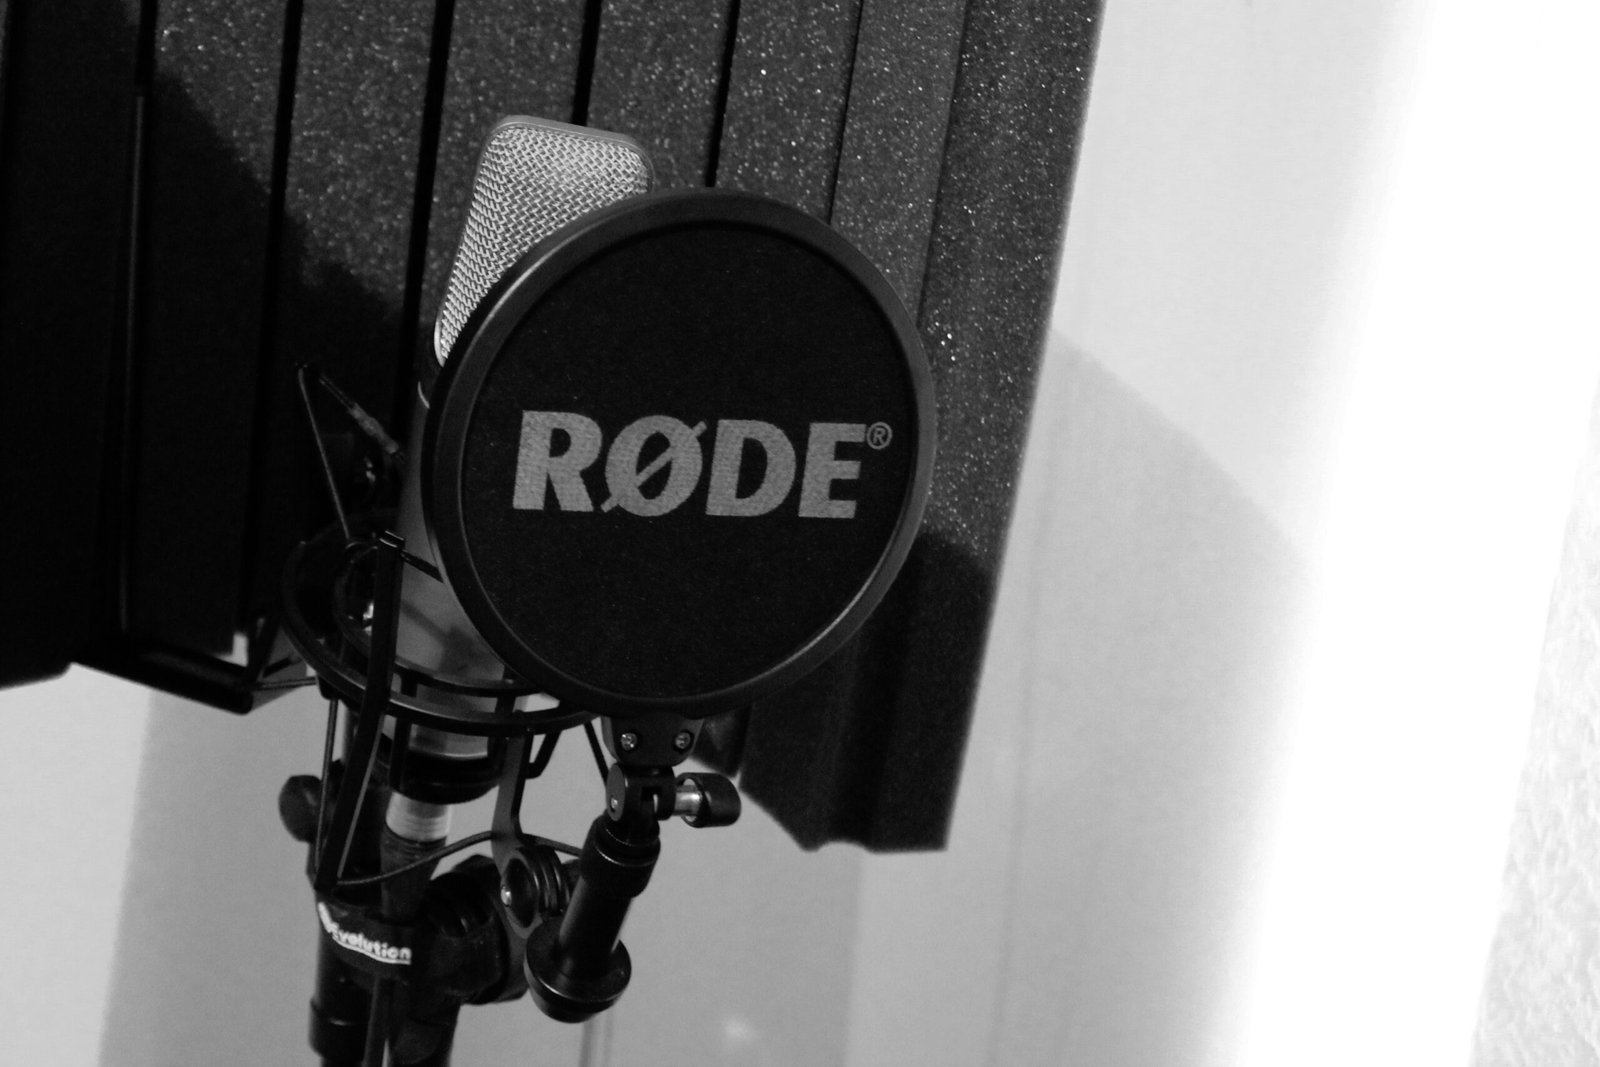
Cover: archive photograph, September 2, 2012, by Tim Sheerman-Chase / Wikimedia Commons, CC BY 2.0. WordPress scaled the original for display. This illustrates a recording setup, not a required equipment list.
Choose a small first recording
Start with an instruction you can explain in your own words: where a shared document belongs, how to label a folder, or what a colleague should check before a meeting. Aim for one clear action and a short explanation. This is a practice exercise, not a broadcast production brief. A recording that tells the listener what to do is more useful than one polished so heavily that its meaning becomes difficult to follow.
These instructions follow Audacity 4's English documentation, checked October 11, 2026. The official changelog lists 4.0.1, released September 30, as current; version 4.0 introduced a redesigned interface and the .aup4 project format. The linked first-step manual pages were updated October 7. Older tutorials may show controls that have moved or disappeared. This is a documentation-based walkthrough, not a claim that we tested a locally installed copy or measured a microphone's performance.
Prepare two or three sentences before opening the microphone. For example: explain which folder to open, what name to give a file and how to confirm that it arrived. Those are hypothetical instructions; replace them with your real task. Use your own speech and material you are allowed to share. Keep private details out of the practice take. You can do this exercise with equipment you already have, without buying the studio accessories pictured above.
Check the input before committing a take
In Audio setup, choose your microphone under Recording device and your headphones under Playback device. A moving meter is not enough to identify the right microphone: the computer's built-in input might still be selected. If a newly connected device is missing, use Rescan audio devices. Select one mono recording channel for this single-microphone exercise. Before enabling input monitoring, put headphones on and keep their playback volume low; monitoring through speakers can feed sound back into the microphone.
Open the Microphone level flyout, speak at the volume you will use and watch the input meter. Audacity's starting guidance is ordinary speech peaks between minus 18 and minus 6 dB. That provides recording headroom; it is not a delivery loudness specification. Avoid reaching the top of the digital meter. Changing Audacity's microphone-level slider also changes the system input level, so remember the setting if you use the same microphone in another application.
Record a ten-second test and play it back. Listen for the actual words, room echo, thumping consonants and unexpected hum. Move to a quieter position or adjust placement before recording the whole instruction. Shure's October 31, 2024 home-recording guide also favors wired headphones because Bluetooth can introduce delay. Its equipment recommendations are commercial; the practical lesson here is to check the monitoring path, rather than assume more expensive equipment will solve a room problem.
Record once, then protect the editable version
Use Add track to create a Mono track and select its header. Press the red Record button, leave a few seconds of room sound, and deliver your instruction. If you stumble, pause your speech and repeat the sentence after a small gap. Stop when you finish, then listen back. A damaged or wrong-input take is a reason to record again while the setup is still available, rather than spend the session trying to disguise the problem.
Save the project to your computer early and keep saving as you work. Audacity 4's .aup4 file preserves the tracks, clips and editable decisions; it is different from a finished audio file. Give it a descriptive name and a folder you can find again. Keep an untouched original project copy before applying effects or making extensive edits. For this exercise, a name such as folder-instruction-original helps distinguish the source from later working versions.
Remove mistakes without cutting the meaning
Click a clip's header to select the whole clip. Dragging inside its waveform instead selects a time range. To shorten an unwanted lead-in or tail, use the upper edge handles: they trim, and dragging an edge back outward reveals the hidden audio. The lower handles change speed. Choosing the wrong pair can make a voice unnaturally fast or slow instead of removing silence. Zoom in and listen around the intended boundary before committing a change.
For a repeated sentence, select only the unwanted passage and play that selection first. Delete offers gap behavior: Leave gap retains the timing, while Close gap (ripple) moves later audio earlier. A single spoken instruction often benefits from closing an unnecessary pause. Check the join by playing from before it through the following sentence. Undo a cut that removes a syllable, makes the sentence confusing or rushes the speaker. Preserve enough breathing space for comprehension.

Use noise reduction only when it helps
A usable take may need no noise effect. For steady hiss or hum, Audacity's Noise Reduction works in two passes: select a voice-free sample of the background sound and use Get noise profile; then select the audio to filter and reopen the effect. The manual places it under Effect > Noise removal and repair > Noise reduction. The profile must contain noise alone. Including speech tells the filter to remove part of the wanted voice.
Compare the filtered result with the original. If the voice becomes metallic or watery, undo the effect and use less reduction, or leave the faint background sound. The Noise only output can help expose wanted speech being removed; it is a diagnostic result, not the file to deliver. This process suits constant noise, not a door slam across a word. For a short instruction you can repeat, a clean retake is usually a clearer decision than increasingly aggressive processing.
Export the instruction someone can play
Once the words and pacing are right, save the project and open File > Export audio. Choose Export full project audio for the complete finished instruction. Export selected audio and the loop-region option produce only their respective ranges, so check the Type before confirming. Set a recognizable filename, destination folder and suitable format. Use your recipient's format, size and loudness requirements when they exist. Do not change technical settings simply because another tutorial lists them.
For an ordinary listening copy, MP3 is a practical option when accepted by the destination; WAV can serve when uncompressed audio is requested. Keep a one-voice mono recording mono unless the delivery specification says otherwise. The exported file is for playback, while the .aup4 project is for returning to your edits. Sending only the project asks the recipient to use Audacity. Keeping only the export discards the convenient route back to the original editing decisions.

Listen to the delivered file, not just the project
Open the exported file from its saved folder in a normal audio player. Listen from beginning to end, including the first word, every repaired join and the last sentence. Check that you exported the full instruction, that there is no accidental long silence and that the filename identifies the correct version. This final pass catches a problem that a good-looking waveform cannot: the file you intend to send may be a different range or an older export.
Judge the result by the listener's task. Can they identify the action and follow it without guessing? If the instruction needs a missing detail, revise the wording and record that passage again. If the exported audio is wrong, correct the project and export a fresh copy, then repeat the playback check. Keep the project and delivery file clearly separate. A short, understandable instruction with a verified ending is ready; adding more processing does not make it more useful.